Many projects in manufacturing need custom markings, logos, or labels on metal surfaces. Silk screen printing offers a low-cost way to apply durable and sharp graphics. If you’re making control panels, signage, or branded enclosures, this method can help. It combines accuracy with efficiency and works well across different metal types.
Silk screen printing has been widely used to apply custom graphics onto metal parts. It offers a balance of quality, speed, and cost that fits many industrial needs. Let’s look at how it works and where it performs best.
What is Silk Screen Printing on Metal?
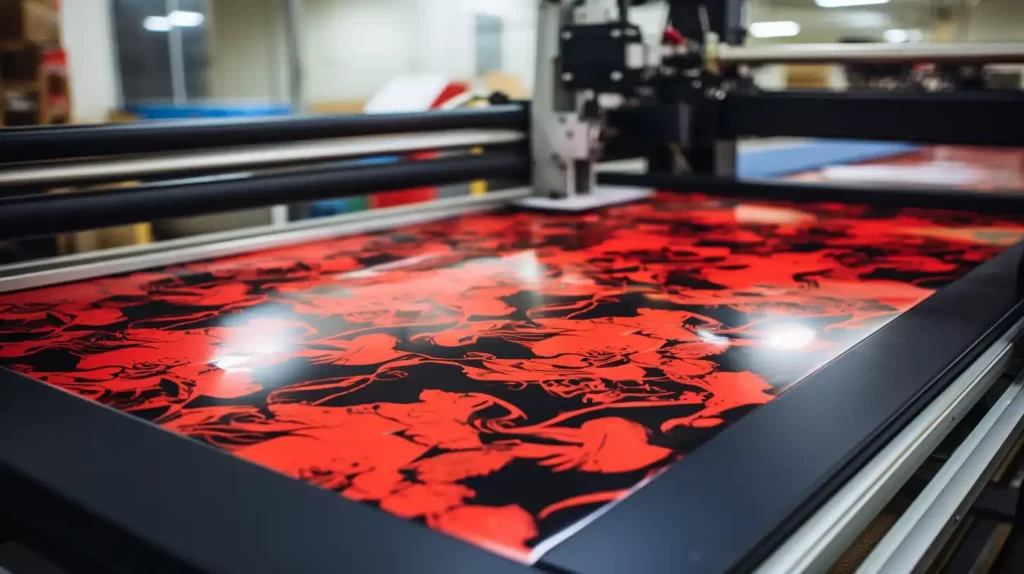
Silk screen printing on metal is a process where ink is pushed through a mesh screen onto a metal surface. The screen blocks ink in some areas and lets it pass through in others, forming a pattern on the surface below. This method works well for simple graphics, company logos, part labels, and more.
The process dates back to ancient China, but it became popular for industrial use in the 20th century. Today, it’s commonly used in electronics, appliances, control panels, and more.
This method works well for flat or slightly curved metal surfaces. It’s used for applying text, graphics, or color codes to parts made from stainless steel, aluminum, brass, and coated metals.
Silk screen printing sticks well to metal. It produces sharp and clear marks that resist wear and tear. The ink can hold up against heat, moisture, and chemicals, depending on the type.
How Does Silk Screen Printing Work on Metal?
Here’s a simple breakdown of how silk screen printing on metal works:
Step 1:Preparing the Artwork
First, create your design digitally. Use software like Adobe Illustrator to get crisp and clear images. Convert the artwork into a film positive, usually a transparent film with dark areas where the ink will pass.
Step 2:Making the Screen
Take a fine mesh screen stretched tightly over a frame. Coat this mesh with a light-sensitive emulsion. Place your film positive over the coated screen and expose it to bright UV light. The UV light hardens the emulsion in areas not blocked by the design.
Step 3:Washing Out the Screen
After exposure, wash the screen gently with water. The areas covered by the artwork wash away easily. This leaves behind a clear stencil in the mesh, matching your design exactly.
Step 4:Preparing the Metal Surface
Next, clean the metal thoroughly to remove dust, oil, or dirt. Usually, alcohol or a mild solvent works well. A clean surface helps the ink stick better.
Step 5:Positioning and Printing
Place the metal sheet beneath the prepared screen. Align it properly to make sure the print lands exactly where you want. Then, add ink onto the screen’s surface.
Step 6:Applying the Ink
Use a rubber blade called a squeegee to press ink through the stencil openings onto the metal. Pull the squeegee across the mesh firmly and evenly. The ink passes through and transfers neatly onto the metal surface.
Step :7:Curing the Ink
Once printed, dry the metal. Depending on the ink, either use heat curing in an oven or UV curing under ultraviolet lamps. Curing sets the ink permanently, making it durable and resistant to scratches and weather.
Equipment and Tools
Each part of the printing setup plays a role in making sure the print sticks well and looks clean. Choosing the right tools helps improve output and reduce errors.
Screens, Mesh, and Frames
The screen holds the stencil. It’s made of mesh stretched tightly across a frame. The mesh can be polyester, nylon, or stainless steel. A higher mesh count gives more detail. A lower mesh count lets more ink through for bold prints.
Frames can be made of aluminum or wood. Aluminum frames last longer and resist warping. The screen must be clean and tight to get clear results.
Squeegees and Inks
The squeegee pushes ink through the mesh. It has a rubber blade with different hardness levels. A soft blade lays down more ink. A harder blade gives a sharper image.
Inks for metal need strong adhesion. They should resist chemicals, UV light, and high temperatures. Common types include epoxy, enamel, and UV-curable inks. Each has its own drying needs and finish quality.
Curing Systems and Drying Methods
After printing, the ink must dry or cure to bond with the metal. There are several methods:
- Air drying is simple but slow. Best for small batches.
- Heat curing uses ovens or heat tunnels. It speeds up drying and improves durability.
- UV curing uses UV light to harden special inks quickly. It works well for high-speed production and scratch-resistant finishes.
Types of Inks Used
Different projects need different types of ink. The choice depends on the metal surface, end-use conditions, and printing setup.
Solvent-Based Inks
Solvent-based inks use chemical solvents to carry the pigment. They dry as the solvent evaporates. These inks stick well to metal and resist water and abrasion. They work for outdoor parts, nameplates, or machinery labels. However, they release fumes, so good ventilation is needed.
UV-Curable Inks
UV-curable inks dry instantly under UV light. This speeds up production. These inks offer strong resistance to scratching, heat, and chemicals. They are great for parts that need fast turnaround and clean finishes. They also work well with automated lines but cost more than other options.
Epoxy and Enamel Inks
Epoxy inks create a hard, durable coating. They resist wear and can handle harsh use. These are often used in industrial parts, electronics, and tools. Enamel inks have a glossy finish and are known for their bright colors and good weather resistance.
Both need heat curing to fully harden. They last long but take more time to apply and dry.
Choosing the Right Ink for Durability
Think about where and how the part will be used. For parts exposed to sunlight or chemicals, UV or epoxy inks work best. For simple labels or indoor use, solvent inks may be enough. Always match the ink to the environment, surface type, and printing volume.

Substrate Types
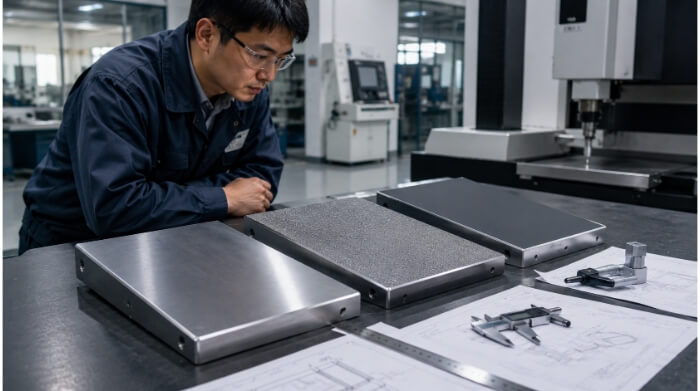
Different metals react differently to ink. Choosing the right approach for each metal helps improve adhesion and print quality.
Aluminum
Aluminum is lightweight, corrosion-resistant, and easy to print on. It’s often used for panels, tags, and enclosures. The surface should be cleaned well before printing. Anodized aluminum provides a better ink grip due to its porous texture.
Stainless Steel
Stainless steel is strong and used in harsh environments. Its smooth surface can make it harder for ink to stick to. Surface prep is key—abrasion or primers may help improve bonding.
Brass and Copper
Brass and copper offer a more decorative look. These metals are often used for high-end signs, labels, or nameplates. They need extra care during prep, as oxidation can affect adhesion.
Coated and Anodized Metals
Coated metals, like powder-coated steel, have an added finish. Inks must be matched to the type of coating. Some surfaces may need priming or special inks.
Color Application Techniques
The way color is applied can affect both appearance and durability. Different techniques are used based on the number of colors and the surface of the metal.
Single-Color Prints
Single-color printing is the most common method. It’s fast, simple, and works well for logos, serial numbers, and warning labels. Only one screen and one ink color are used. This makes the setup quick and reduces the chance of misalignment. It’s ideal for high-volume parts that need clear, readable marks.
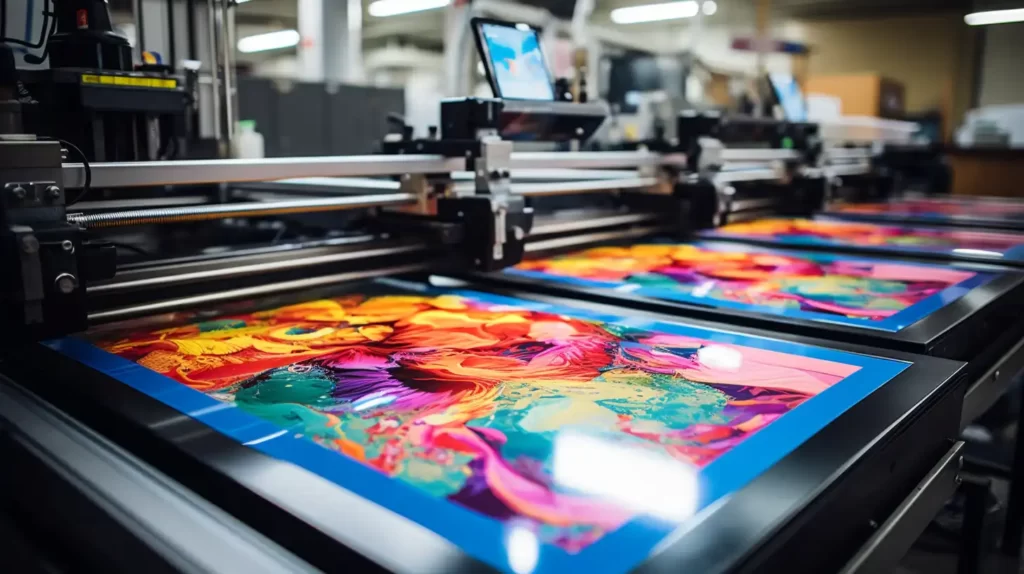
Multi-Layer Color Printing
Multi-color designs need one screen per color. Each color is printed in layers, one after another. Proper alignment between layers is key. This is done using registration marks.
This technique allows for colorful graphics and branding elements. It works well for control panels, user interfaces, and product covers. However, it takes more time to set up and print.
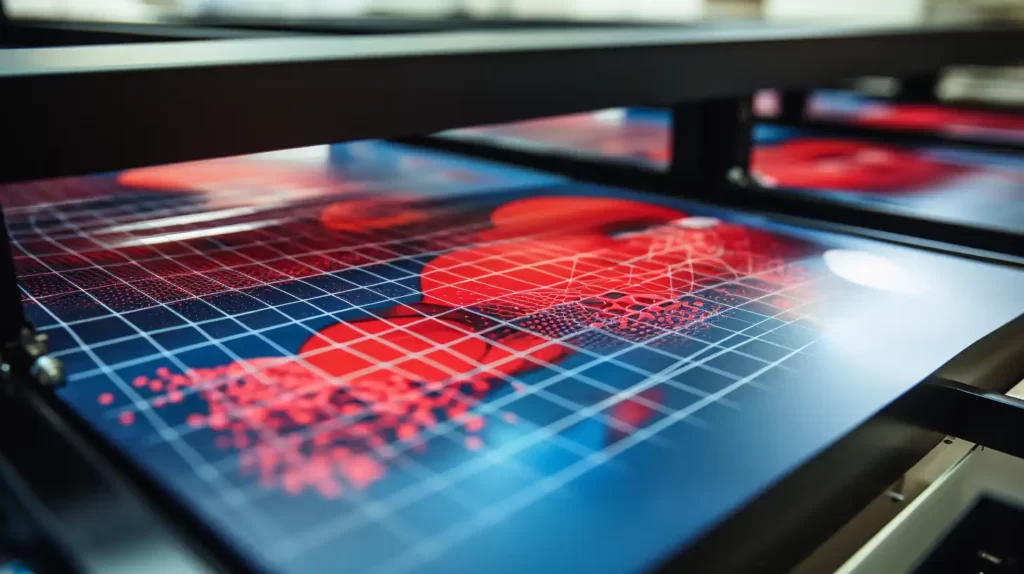
Achieving High Opacity on Dark Metals
Dark metal surfaces can make colors look dull or transparent. To fix this, use high-opacity inks. Another method is to print a white base layer before applying color.
Using lower mesh counts helps deposit more ink. Thicker ink layers can improve coverage. Some printers also use double-print passes to build up color strength.
Advantages of Silk Screen Printing on Metal
This printing method is popular because it combines reliable results with flexible production. It meets both visual and functional needs across many industries.
Durability and Wear Resistance
Silk screen prints can last for years on metal parts. When cured properly, the ink forms a strong bond with the surface. It resists scratches, handling, and daily wear.
UV and Chemical Resistance
Many industrial environments involve sunlight, solvents, or harsh cleaners. Screen printing inks can be made to resist these conditions. This keeps labels and warnings readable over time.
High Color Accuracy and Customization
Screen printing gives consistent color quality. Once set up, it reproduces the same color and sharpness across many parts. Designs can be updated or changed easily by switching screens.
Cost-Effectiveness for Medium-Scale Runs
For medium-sized orders, screen printing is more affordable than laser engraving or digital UV printing. Setup costs are low, and each print takes just seconds.
Common Applications
Silk screen printing on metal is used in many fields where clear, long-lasting markings are needed. It supports both functional and branding purposes.
Nameplates and Tags
These are used to show part numbers, serial numbers, or safety warnings. Printed nameplates can include barcodes, QR codes, and tracking info. They’re common in machinery, tools, and electronics.
Control Panels and Instrumentation
Control panels need precise, easy-to-read labels. Screen printing adds numbers, symbols, and labels directly to metal faceplates. These prints resist scratching and wear from daily use.
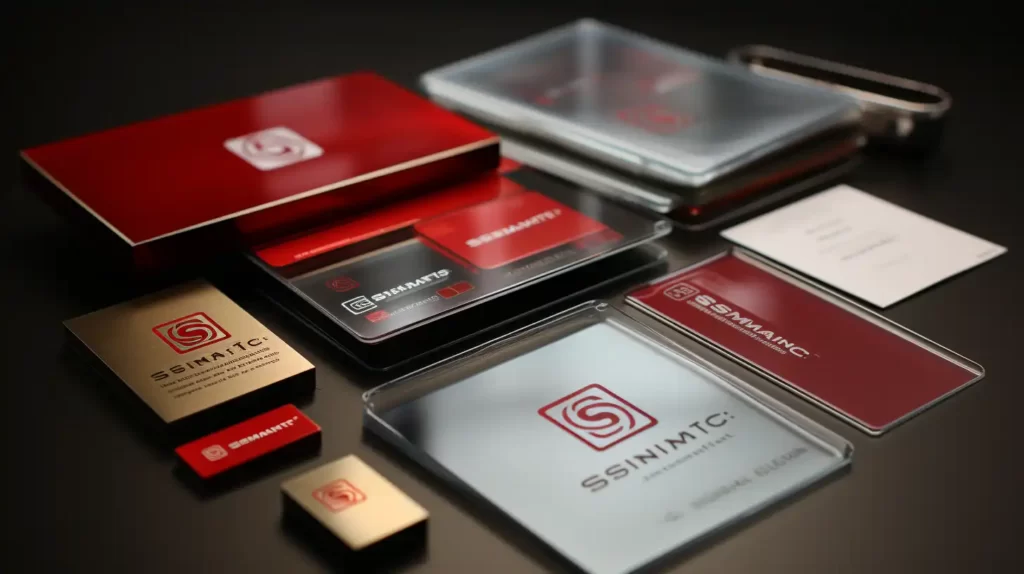
Branding Plates and Decorative Panels
Companies often use metal plates to show their logo or product information. Silk screen printing provides clean, sharp branding that lasts. It supports detailed logos and multi-color layouts.
Signage and Labels for Industrial Use
Factories, labs, and job sites use printed metal signs for safety, directions, or part IDs. These signs need to resist the sun, moisture, and chemicals.
Tips for Optimizing Results
Getting clean, long-lasting prints depends on more than just the right tools. Small adjustments during setup and printing can make a big difference.
Maintaining Mesh Tension
The screen mesh must stay tight and even. Loose mesh causes blurry edges and uneven ink flow. Check mesh tension often, especially during long runs. Re-stretch or replace worn screens to keep prints sharp.
Use a tension meter if needed. Store screens flat to prevent sagging.
Proper Ink Mixing and Storage
Before printing, stir the ink until smooth. This ensures even color and flow. If the ink is too thick or thin, adjust with the correct thinner or hardener.
Store ink in sealed containers, away from heat or direct sunlight. Label each container with the type and date. This helps prevent waste and keeps results consistent.
Preventing Smudges and Misprints
Smudges often come from moving parts too soon or uneven ink application. Allow full drying or curing before handling. Use guides or jigs to keep parts in place during printing.
Clean the screen between prints if buildup appears. Watch for dust or oil on the metal surface, as this can cause ink to lift or bubble.
Conclusion
Silk screen printing on metal is a printing method that uses mesh screens and ink to apply designs directly onto metal surfaces. It offers sharp graphics, strong adhesion, and resistance to wear, UV, and chemicals. This method is ideal for nameplates, control panels, branded plates, and industrial signage.
Looking to mark your metal parts with clear, durable prints? Send us your drawings or part samples—we’ll help you choose the right ink and process to meet your needs.
Hey, I'm Kevin Lee

For the past 10 years, I’ve been immersed in various forms of sheet metal fabrication, sharing cool insights here from my experiences across diverse workshops.
Get in touch
Kevin Lee
I have over ten years of professional experience in sheet metal fabrication, specializing in laser cutting, bending, welding, and surface treatment techniques. As the Technical Director at Shengen, I am committed to solving complex manufacturing challenges and driving innovation and quality in each project.


One Response