When your aluminum parts need branding or permanent marks, laser engraving is a wise choice. But when that aluminum is anodized, things can get tricky. The coating is hard, reflective, and not always easy to mark cleanly. So, how do you get a clean, readable engraving every time? You need the proper setup and a straightforward process that works on anodized surfaces.
To laser engrave anodized aluminum, use a fiber laser or CO2 laser with enough power to remove the anodized layer without damaging the base metal. Focus the beam precisely, and adjust the speed and frequency to match the thickness of the anodized coating. Avoid too much power or multiple passes, which can burn or blur the mark. A good setup ensures clean contrast and long-lasting results.
Let’s break this process down step by step to help you do it right from the start.
What Is Laser Engraving Anodized Aluminum?
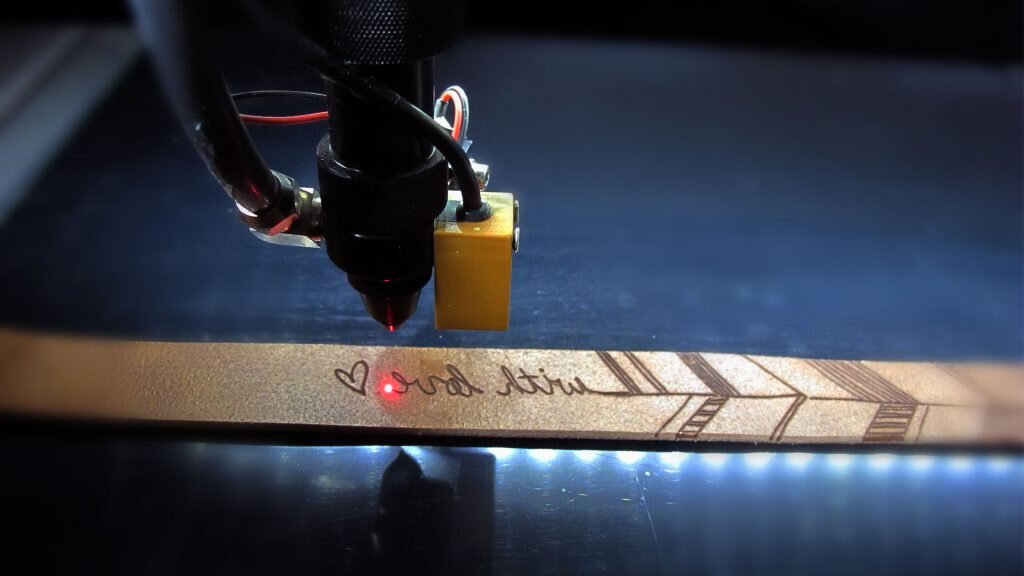
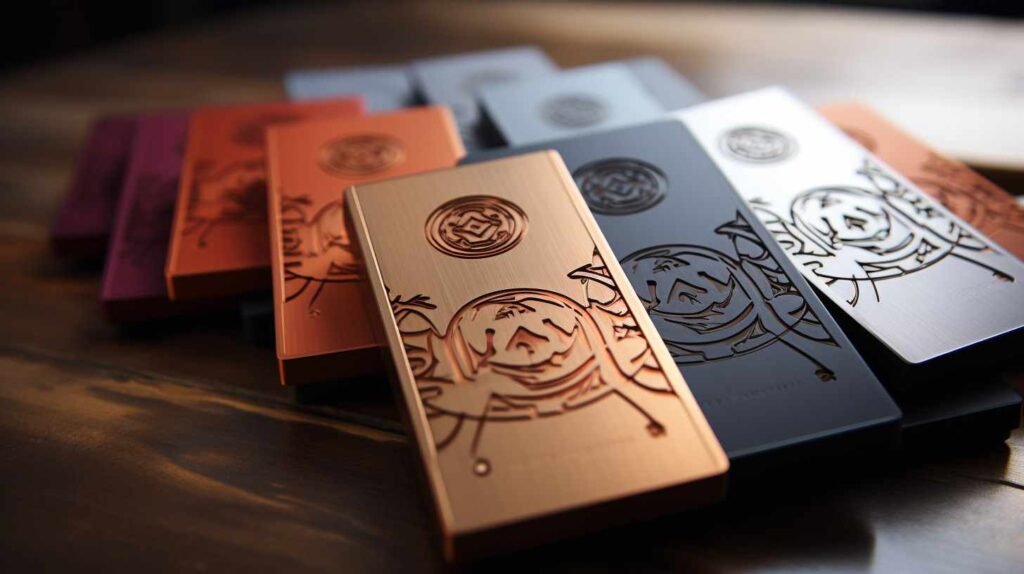
Laser engraving anodized aluminum means using a laser beam to remove part of the anodized surface. The laser burns off the colored layer, revealing the natural aluminum underneath. This creates sharp, white, or silver markings with strong contrast.
The laser does not cut into the metal. It only interacts with the anodized coating. This keeps the part’s structure unchanged while adding clear labels, logos, or serial numbers.
The laser reacts strongly with the dyed anodized layer. It removes the color without cutting into the aluminum. This contrast makes the engraving easy to read.
Anodized coatings are thin and even. This helps the laser produce consistent results. There’s no need for extra steps or messy inks. The result is permanent and doesn’t rub off over time.
Benefits of Laser Engraving on Anodized Aluminum
Laser engraving anodized aluminum offers real advantages in production. It’s fast, accurate, and gives reliable results every time.
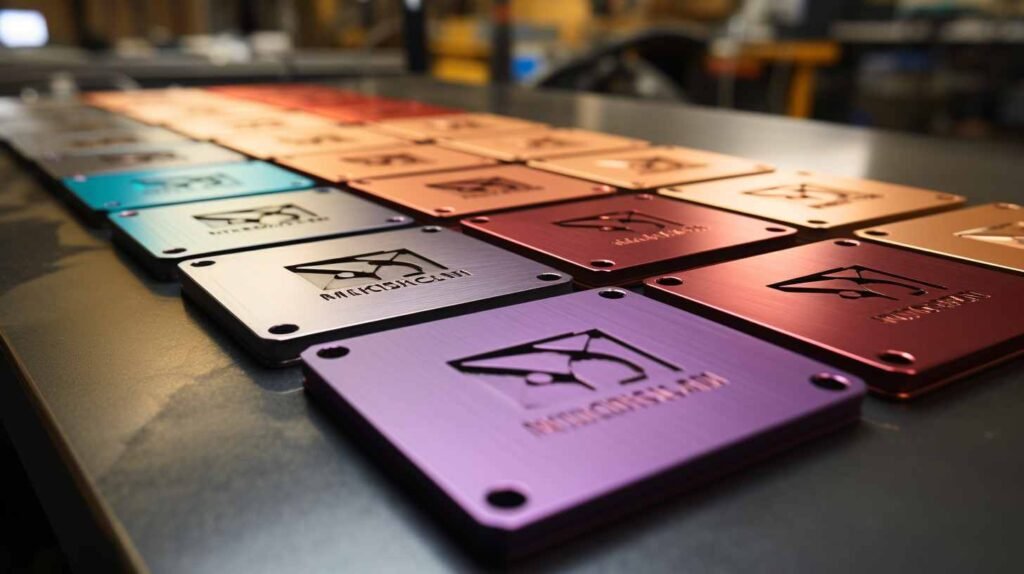
High Contrast and Readability
Engraving creates a sharp white or silver mark against the dark anodized background. This makes serial numbers, barcodes, and logos easy to read. Even small text remains clear and detailed.
Long-Lasting and Wear-Resistant Marks
The mark is permanent. It won’t fade, peel, or wash off. Because the engraving removes the dye layer, not just printing on top, it stands up to heat, friction, and chemicals.
No Contact = No Part Damage
Laser engraving is non-contact. There’s no pressure or vibration on the part. That means no dents, scratches, or tool marks. This is ideal for delicate or precision-finished parts.
High-Speed, Repeatable Process
Once the laser settings are dialed in, the process is fast and consistent. Whether you’re marking ten parts or ten thousand, the results are the same. You can automate the process and reduce labor time.
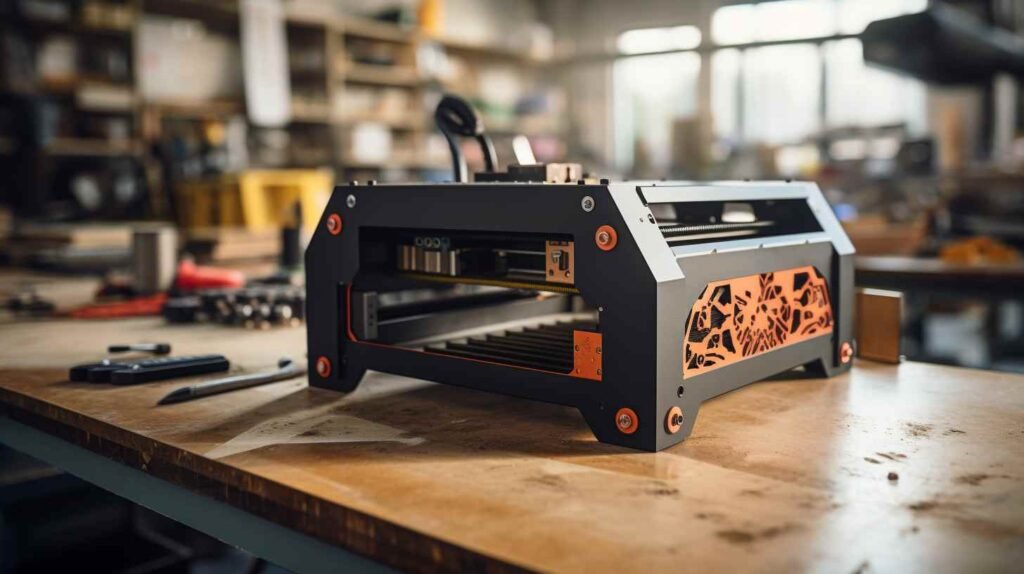
Choosing the Right Laser Machine
The type of laser you use plays a significant role in how well the engraving turns out. Picking the right machine ensures clean marks and steady results.
CO₂ vs Fiber Laser for Anodized Aluminum
Both CO₂ and fiber lasers can engrave anodized aluminum. Fiber lasers are more efficient for this task. They offer better focus, higher contrast, and faster speeds. CO₂ lasers work too, but they need more power and may not be as sharp.
If you do mostly metal marking, go with a fiber laser. It handles anodized surfaces better and requires less maintenance.
Wattage and Power Requirements
For anodized aluminum, you don’t need high wattage. A 20W to 50W fiber laser is often enough. If you go too high, you risk burning through the anodized layer and damaging the base metal.
Start with low power and increase slowly if needed. The goal is to remove the dye, not the metal.
Recommended Laser Wavelength
Fiber lasers usually operate at 1064 nm. This wavelength works well on metal surfaces. It reacts vigorously with the anodized layer and gives clean, high-contrast results.
CO₂ lasers use 10,600 nm. This works better on non-metal materials, but can still mark anodized coatings if set correctly.
Pre-Engraving Preparation
Before engraving, good preparation helps you get clean, accurate results. It reduces errors and keeps the process efficient.
Surface Cleaning Techniques
Clean the anodized aluminum surface before engraving. Use a soft cloth with alcohol or a mild cleaner. This removes oils, dust, or fingerprints that can affect laser focus or cause uneven marks.
Avoid harsh chemicals or abrasive pads. They can scratch the anodized layer or affect contrast.
Fixturing the Workpiece
Secure the part in place before engraving. Use clamps, jigs, or a flat fixture tray. The workpiece must not move during the process.
Even small shifts can blur the mark or misalign the design. Use repeatable fixtures if you’re engraving many parts.
File Formats for Design (DXF, SVG, AI, etc.)
Most laser machines accept vector file formats. Common ones include DXF, SVG, and AI. These files allow the laser to follow clear paths and shapes.
Make sure your design is clean and scaled correctly. Remove any overlapping lines or hidden layers before sending the file to the laser.
Step-by-Step Laser Engraving Process
A transparent process ensures consistent results. Here’s a simple breakdown of how to laser engrave anodized aluminum.
Step 1: Set Up the Machine
Turn on the laser machine. Load the correct file. Check that the lens is clean and properly focused. Select the correct settings based on your material and laser type.
Step 2: Position the Workpiece
Place the anodized aluminum part on the bed. Use clamps or fixtures to keep it stable. Align the part with the laser path using the red-dot pointer or camera preview, if available.
Step 3: Test on a Scrap Piece
Before engraving the final piece, run a quick test on scrap material with the same anodized finish. Adjust speed, power, and frequency until you get the right contrast and clarity.
Step 4: Start the Engraving
Once everything is set, run the job. Watch the first few seconds to ensure the laser is hitting the right spot and engraving correctly. Do not leave the machine unattended.
Step 5: Check the Result
After engraving, check the mark. It should have a sharp contrast, clean edges, and no burned areas. If needed, wipe the surface with a soft cloth to remove dust.
Step 6: Repeat for Multiple Parts
If the results are promising, repeat the process for the rest of your parts. Use the same settings and fixtures to maintain consistency.
Optimal Laser Settings
Getting the correct settings is key to clear, sharp marks. It reduces trial and error and saves material.
Recommended Speed and Power Levels
For fiber lasers, start with low to medium power—around 20% to 50% of max. Set a moderate speed, such as 300–800 mm/s. Too much power burns through the anodized layer—too little leaves faint marks.
CO₂ lasers need more power, often above 60%, and slower speeds. Always test settings first.
Line Spacing and Resolution
Use tight line spacing for better detail. Set the interval around 0.05 mm to 0.1 mm. High resolution gives smoother curves and better contrast.
Avoid too close spacing, which can overheat the surface or blur fine text.
Focus and Beam Spot Size
Keep the laser beam well-focused. A small beam spot gives sharper detail. Use auto-focus if available, or check focus manually before each job.
Correct focus ensures the laser hits the anodized surface cleanly and removes just the dye layer.
Air Assist and Cooling Considerations
Air assist isn’t always needed for anodized aluminum. But light airflow helps clear dust during engraving. This keeps the mark clean.
For longer jobs, keep the laser system cool. Proper airflow and machine fans prevent overheating and maintain stable output.
Engraving Techniques and Methods
Each technique serves different purposes. Let’s examine the three main approaches.
Direct Marking on Colored Layer
This is the most common method. The laser removes only the dye in the anodized layer. It does not cut into the aluminum. This creates a clean, white, or silver mark with high contrast.
It’s fast, clean, and great for logos, barcodes, and text.
Removing the Anodized Layer to Reveal Base Metal
In this method, the laser strips off the entire anodized layer. This exposes the raw aluminum below. It’s useful when you need a more profound or more permanent mark.
It takes more power and time. Be careful not to overheat or damage the part.
Deep Engraving vs Surface Etching
Deep engraving cuts into the base metal. It’s rare for anodized aluminum because it removes the protective layer. This may affect corrosion resistance.
Surface etching is preferred. It keeps the part’s surface intact while creating readable marks. Use deep engraving only when depth is required for function.
Post-Engraving Finishing Options
After engraving, a few final steps can improve the appearance and durability of the mark.
Cleaning the Engraved Surface
Wipe the part with a soft cloth to remove dust or debris. Use isopropyl alcohol for any remaining residue. Avoid abrasive pads or harsh chemicals. The goal is to clean without damaging the finish.
Enhancing Contrast with Dyes or Sealants
If the mark is too light, you can apply a contrast dye. Some users apply black or colored ink into the engraved area and wipe the surface clean. This boosts visibility but is optional.
Sealants can lock in the dye and protect the surface. Choose one that won’t affect the anodized layer.
Protective Coatings for Durability
Apply a clear coat if the part will be exposed to harsh use. Spray-on acrylic or polyurethane works well. It adds a thin barrier that protects both the engraving and the anodized surface.
Make sure the coating doesn’t blur the mark or change its look.
Common Applications
Laser engraving on anodized aluminum is widely used across different industries. It gives a clean look and reliable performance for many types of parts.
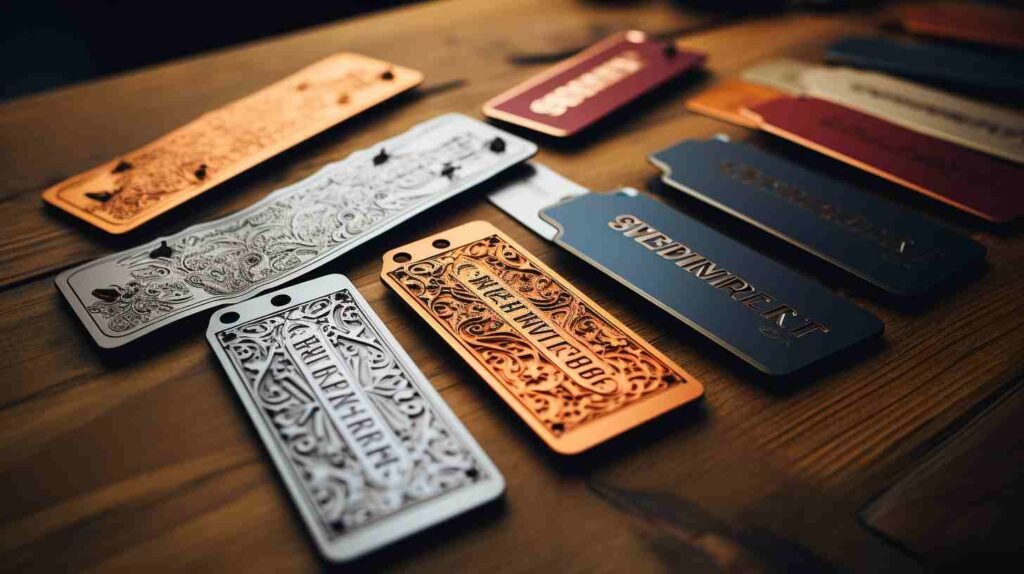
Industrial Nameplates and Tags
Many factories use anodized aluminum tags for labeling machines, tools, or safety equipment. Laser engraving creates readable and durable labels that hold up in harsh environments.
Branding for Consumer Electronics
Laptops, phones, and accessories often use anodized aluminum parts. Laser engraving adds brand names or product info without damaging the smooth surface or affecting performance.
Custom Promotional Items
Companies often engrave logos on anodized aluminum pens, keychains, or flashlights. This creates a premium look that lasts longer than printed graphics.
Barcode and Serial Number Marking
Engraved barcodes and serial numbers are easy to scan and trace. They stay readable over time, even if the product faces heat, cleaning, or rough use.
Conclusion
Laser engraving anodized aluminum is a reliable way to create sharp, long-lasting marks. With the right laser type, settings, and setup, you can remove the anodized dye layer without harming the base metal. The process is fast, contact-free, and works well for serial numbers, logos, and industrial tags.
Looking to customize anodized aluminum parts for your project? Contact us today to get a quote or ask about our laser engraving services. We’re ready to help.
Hey, I'm Kevin Lee

For the past 10 years, I’ve been immersed in various forms of sheet metal fabrication, sharing cool insights here from my experiences across diverse workshops.
Get in touch
Kevin Lee
I have over ten years of professional experience in sheet metal fabrication, specializing in laser cutting, bending, welding, and surface treatment techniques. As the Technical Director at Shengen, I am committed to solving complex manufacturing challenges and driving innovation and quality in each project.