Polishing stainless steel can be challenging, especially for a mirror-like finish. Frustration arises when you don’t achieve that smooth, reflective surface. You might feel overwhelmed by the various techniques and products available. But worry no more. I’m here to guide you through this process, ensuring you achieve a flawless polish every time.
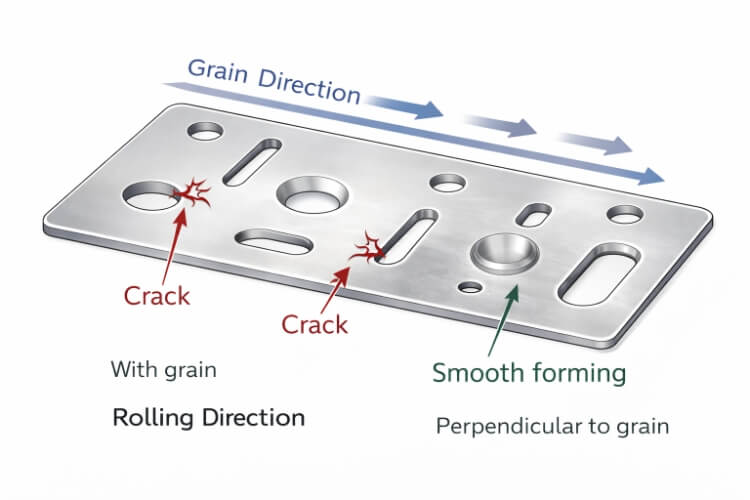
To polish stainless steel, thoroughly clean the surface with a gentle detergent and water. Next, dry the surface thoroughly to prevent water spots. Then, apply a stainless steel cleaner or polish using a soft cloth or sponge, working toward the grain.
Polishing stainless steel might seem complicated, but it’s manageable with the right approach. Follow these steps, and you’ll see remarkable results. Ready to get that perfect shine? Let’s go step-by-step through the process.
Step 1 – Clean and Prepare Stainless Steel
Clean the stainless steel surface before polishing. This will remove dirt, grease, and grime, which can interfere with the polishing and cause streaks. How to do it:
- Prepare your supplies: You will need a microfiber towel, a sprayer filled with warm, soapy (warm) water (a few drops of dish soap mixed in warm water), and another microfiber towel for drying.
- Cleanse the surface: Spray the soapy water gently onto the stainless steel. Follow the grain of metal (usually invisible parallel lines). Cleanse the surface with the first microfiber towel, again following the grain.
- Rinse & Dry: After the surface has been cleaned, rinse off the soapy residue using clean water. Then, buff the surface to a dry finish using a dry microfiber towel.
Water spots or light scratches can also appear on stainless steel. How to fix them before polishing
- Minor scratches: A baking soda paste with water can gently remove minor scratches. The paste should be applied with a wet cloth toward the grain. Rinse thoroughly and let dry.
- Water Spots: Stinky water spots can easily be removed with equal parts white vinegar and water. Clean the solution onto the stainless steel using a microfiber towel.
Step 2 – Level the Surface and Address Unevenness
Stainless steel surfaces may have minor imperfections such as weld marks or bumps. This can make it challenging to achieve a polished, smooth finish. How to achieve a perfect finish by leveling the surface:
- Sand off high spots: Use sandpaper of grit 120 or more for minor imperfections. Sand evenly and lightly, following the grain. You should not apply too much pressure as you only remove the high spots, not the entire surface.
- Monitor your progress regularly: After making a few passes with sandpaper and wiping the area, inspect the result again. Continue to sand very gently until you reach a level surface.
Be careful during this step. If you sand too aggressively, it can leave scratches, which need to be removed with further polishing.
Step 3 – Sand the Surface
After removing the first blemishes:
- Switch to sandpaper to refine the stainless steel surface.
- Start sanding metals with a mill finish using 120-grit paper.
- Gradually progress to finer grits as the texture of the surface improves.
- Gradually transition from grits such as 240, 600, 800, and 1200 for optimal results. If you want a mirror finish, a second step using 2000 grit may be necessary.
Adjust your sander speed for stainless steel between 4,000 RPM and 6,500 for best results. Use a careful approach and ensure the sander moves perpendicularly to any visible scratches. As you change grits, rotate your sanding direction by 90 degrees. It is time to move on when the stainless steel has a uniform, satiny finish.
Use a dampened sponge or soft cloth to wipe the steel surface after the sanding.
Step 4 – Polishing with Confidence to Unveil a Mirror Finish
The surface is now ready for the final step! How do you get the best shine from your stainless steel?
- Choose Your Polish Partner: All polishes are not created equal. Choose a polishing compound that is designed explicitly for stainless steel.
- Buffing Techniques: Manual or Machine?
- Hand buffing: Apply a small amount to a microfiber cloth. Buff the stainless steel surface using circular motions and gentle pressure.
- Power buffer: Consider a power buff with a soft polishing cap for larger surfaces or faster processes. Use a little polish on the bonnet, then buff the stainless steel moderately while following the grain.
- Buffing until Perfection: Continue using your preferred method until you reach the desired shine. To remove the polish residue, wipe the surface with a microfiber towel.
Pro tips for polishing success:
- Section-by-Section: Work in sections on the stainless steel surface to improve polish and control. You can then concentrate on getting a uniform shine.
- Respect Grain: Always polish and buff in the direction of the grain.
- A light touch wins: Do not apply excessive pressure when buffing. You only need a gentle touch and a high-quality polishing compound for a perfect mirror finish.
- Check Your Progress: Review your work regularly. Clean the surface with a microfiber cloth to remove any polish residue. Inspect it under bright lighting.
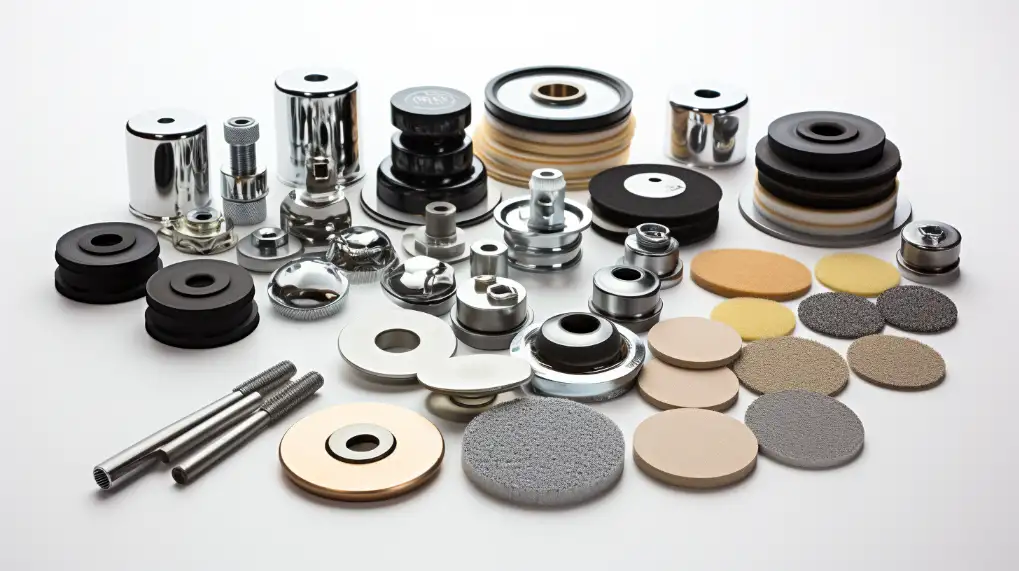
Polishing Stainless steel: Hand vs. machine
Hand polishing:
- Ideal for intricate details or small surfaces.
- Polishing compound, microfiber towels, and elbow grease are required.
- It offers greater control over delicate areas and a personal touch.
- Larger surfaces may require more effort and time.
Machine polishing:
- The perfect tool for large surfaces. It is fast and produces a uniform finish.
- This product requires a power buff, a polishing bonnet, and a sanding compound.
- It is a convenient and efficient solution for large areas.
- It is essential to use a steady hand to avoid applying excessive pressure that could cause swirl marks.
Selecting Your Method:
- Hand polishing is a good option for small areas and a precise finish.
- A power buffer can be used to save time or cover larger surfaces.
How do I get a matte or brushed finish?
While the steps above focused on achieving a gleaming mirror finish, stainless steel can also be polished into a matte or brushed look. How do I get this look?
How to achieve a Brushed Finish :
- Sanding Is Key: A brushed appearance relies on a consistent grain pattern, unlike the mirror finish. Use a sanding paper or block with a grain of 120 to 220.
- Technique for Sanding: Sand stainless steel surfaces in consistent strokes. Always follow the brush direction. You can select a horizontal grain, vertical grain, or diagonal pattern. Keep a light hand and apply even pressure during the entire sanding procedure.
- Maintaining consistency: Regularly review your progress. Wipe off dust with a microfiber towel and check the surface in good lighting. Continue to sand with light strokes until you achieve the desired brushed finish.
Alternatives to Sanding:
- Brushed Metal polishing pads: These special pads can be substituted for sandpaper to achieve a brushed surface. These pads are available in a variety of grits and brush patterns. Apply moderate pressure and back-and-forth movements while using the pad in the direction you want to brush.
- Wire brushes: A wire brush is a good option for a rustic or industrial appearance. Wire brushes will leave more of a scratchy pattern than sandpaper and polishing pads.
Important Note: Avoid using creams or polishing compounds after you have achieved the brushed effect. They can remove the brushed appearance and create a shiny finish.
Matte Finish Considerations:
A matte finish is a low-shine texture that has a uniform grain. Here are two ways to get a matte finish:
- Chemical treatments: A wide range of chemical solutions can be used to create a matte surface on stainless steel. This method is only effective if you follow the instructions and ensure proper ventilation. This method is generally only recommended for professionals.
- Sanding Stainless Steel with Finer Grit: A subtle matte finish can be achieved by sanding stainless steel with finer grit (around 320 grit or higher). This will produce a low-sheen, excellent surface with no grain pattern.
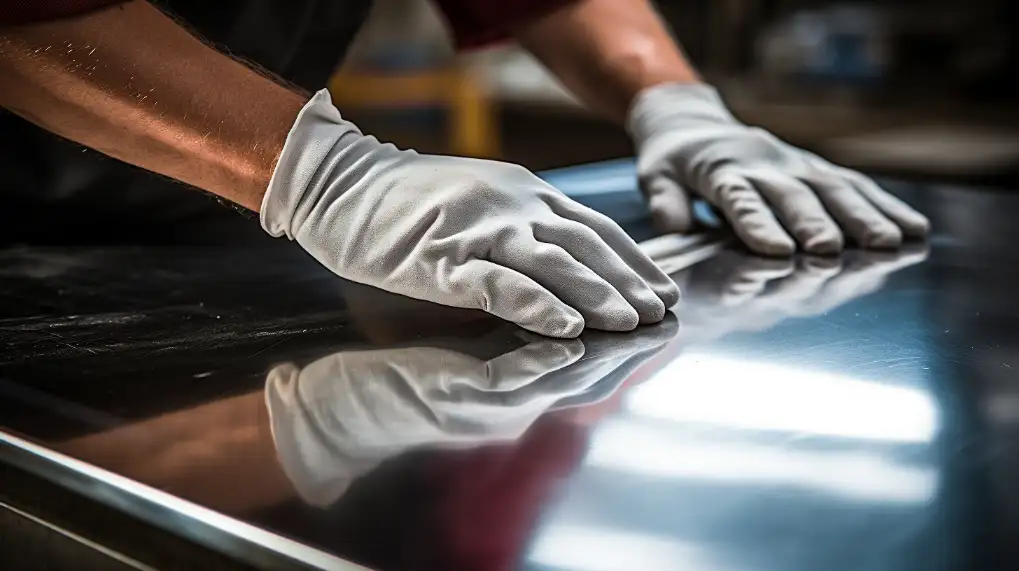
Benefits beyond Aesthetics
It’s not just about looks. Polished stainless has many benefits. We’ll explore these hidden benefits in more detail.
Enhanced Durability
Over time, stainless steel can develop a thin oxide film that protects the metal from corrosion. Regular polishing removes contaminants and imperfections from the surface. This allows this protective film to regenerate.
Improved corrosion resistance
Polished stainless steel surfaces form a barrier that protects against corrosion and extends the life of the material. Polishing removes surface contaminants and smoothes out rough areas, which helps maintain the metal’s corrosion-resistant qualities.
Hygienic Properties
It is easy to maintain and clean polished stainless steel, making it perfect for environments that prioritize hygiene. The non-porous, smooth surface of polished stainless steel prevents bacteria from building up, creating a hygienic and clean environment.
Problems with Polishing Stainless Steel
Minor hiccups may occur even with the best intentions during the polishing procedure. Here are some tips to ensure that your stainless steel is shining brightly.
How to Deal with Streaks & Scratches:
- Streaks: Often, these are caused by incorrect cleaning or the use of the wrong cleaning solutions.
- Solution: Clean the surface with a microfiber towel and warm, soapy water. Rinse thoroughly with fresh water, then dry with a clean microfiber towel to remove any residue causing streaks.
- Scratches: The solution will depend on the severity of the scratch.
- Minor Scratches: A baking soda and water paste will remove minor scratches. The paste should be applied with a microfiber cloth dampened in water following the grain. Rinse thoroughly and let dry.
- Deeper Scratches: To remove more noticeable scratches, it may be necessary to repeat the sanding process with a finer grade sandpaper. Repolish to get a uniform shine.
Remove Rust and Stains:
- Rust: A solution of white vinegar and equal parts water will remove minor surface rust. Spray the solution on a microfiber towel, follow the grain, and wipe it clean.
- Stains: A baking soda paste or commercial stainless steel cleaners can be effective for stubborn stains. Test any cleaning solution on an inconspicuous surface first.
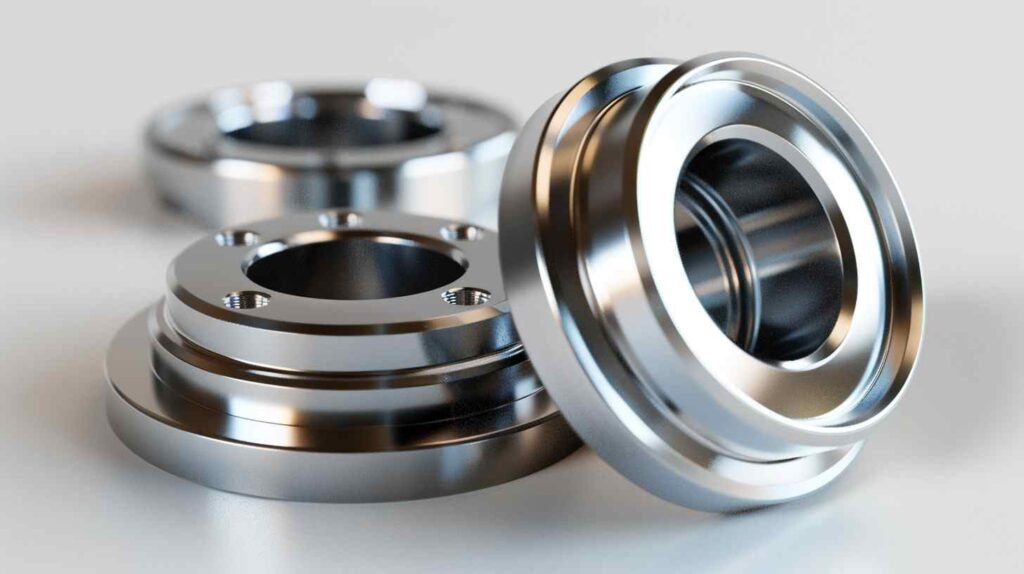
Polishing Stainless Steel: Maintenance and Care
You should be rewarded for your effort in polishing stainless steel. Here are some tips on maintaining your stainless steel over time and when repolishing it is best.
Daily Care Tip:
- Clean Up Spills Quickly: Do not let spills remain. Spills and splashes left on surfaces for long periods can cause water spots or stains to develop. Wipe up spills using a dry, clean microfiber cloth as soon as possible.
- Regular Cleaning: Dust your stainless steel surfaces with a microfiber rag to avoid dust and dirt accumulation. This will help maintain a polished and clean look.
- Cleaning Daily Grime: Use a warm, soapy cloth and warm water to remove everyday grime. To avoid water spots, rinse thoroughly and completely dry the surface.
Long-Term Preserving:
- Avoid harsh chemicals: Abrasive cleaning agents, bleach, or harsh chemicals may damage stainless steel surfaces. Regular maintenance should be performed with gentle cleaning products and microfiber cloths.
- Deep Cleaning Occasionally: Use a stainless steel cleaner occasionally to remove stubborn dirt or grime. Follow the manufacturer’s instructions and test it in a non-obvious area before using it.
When Should You Repolish
- Loss in Shine: When your stainless steel, which was once gleaming and lustrous, starts to appear dull or lackluster, it is a sign that the polish has worn away. Repolishing will restore the shine.
- Water Spots Buildup: Staining water spots that do not disappear after regular cleaning show the need to repolish.
- Visible Scratches: Minor scratches can be buffed, but if they become more noticeable or affect your car’s appearance, you are recommended to repolish them.
Conclusion
This guide reveals the secrets to polishing stainless steel so that it is durable, corrosion-resistant, and hygienic, as well as how to maintain a lustrous finish and prolong its life. Make sure your stainless steel investment remains gleaming for many years.
Do you need a reliable sheet metal parts manufacturer? Shengen is the place to go. We specialize in sheet metal laser cutting, bending, surface finish, and sheet metal welding. We place a high priority on establishing trust, maintaining standards of quality, providing competitive prices, and guaranteeing timely delivery. Reach out to Shengen Today and seek help from professionals!
FAQs
How do you clean stainless steel that has become tarnished?
A simple clean with soapy, warm water and a microfiber towel is often enough to remove minor tarnishing. White vinegar and water diluted in equal amounts can remove stubborn tarnish. Apply, wipe in the grain direction, and thoroughly dry.
How frequently should stainless steel be buffed?
How often you need to polish depends on the desired shine and how much you use it. The time between polishes can be extended by using microfiber cloths daily. When the surface appears dull, streaky, or has visible scratches, repolish.
What is the best way to polish stainless steel?
Use a polishing compound that is designed explicitly for stainless steel. These compounds are designed to produce a high shine without damaging the metal. Avoid using harsh chemicals or abrasive cleaning agents. Microfiber cloths can be used for cleaning, drying, and buffing.
How can stainless steel be made shiny again?
The shine can be restored by repolishing the surface with microfiber cloths and a high-quality polishing compound. Before polishing, make sure the surface is free of dust and debris.
Can stainless steel be overpolished?
Technically, no. Excessive pressure when buffing can cause unwanted swirl patterns or marks. Let the polish do its work with a gentle touch.
More Resources:
Stainless Steel Grades and Families – Source: Unifiedalloys
Type of polishing – Source: Sybridge
Maintenance of Mirror Polished Stainless Products – Source: Stilesdoors
Stainless Steel Polishing Kit – Source: Caswellplating
Hey, I'm Kevin Lee

For the past 10 years, I’ve been immersed in various forms of sheet metal fabrication, sharing cool insights here from my experiences across diverse workshops.
Get in touch

Kevin Lee
I have over ten years of professional experience in sheet metal fabrication, specializing in laser cutting, bending, welding, and surface treatment techniques. As the Technical Director at Shengen, I am committed to solving complex manufacturing challenges and driving innovation and quality in each project.


