Many manufacturers face challenges when transitioning from prototype to production in metal fabrication. Time delays, quality inconsistencies, and rising costs can derail even the most promising projects. With proper planning and execution strategies, you can avoid these common pitfalls and achieve successful outcomes for your metal fabrication needs.
We’ll explore proven methods and practical tips to help you optimize your metal fabrication journey from initial concept to final production. These insights come from years of hands-on experience working with diverse manufacturing projects.
Understanding the Metal Fabrication Process
Metal fabrication is at the core of many industries, from aerospace to automotive. It involves turning raw materials into specific shapes and products by using various processes such as cutting, welding, stamping, and assembly. But what exactly goes into this process?
What is Metal Fabrication?
Metal fabrication is the process of creating metal structures and components from raw materials. It typically involves shaping, cutting, and assembling metals to form parts used in different industries. Depending on the specifications, this process can range from small custom projects to large-scale production runs.
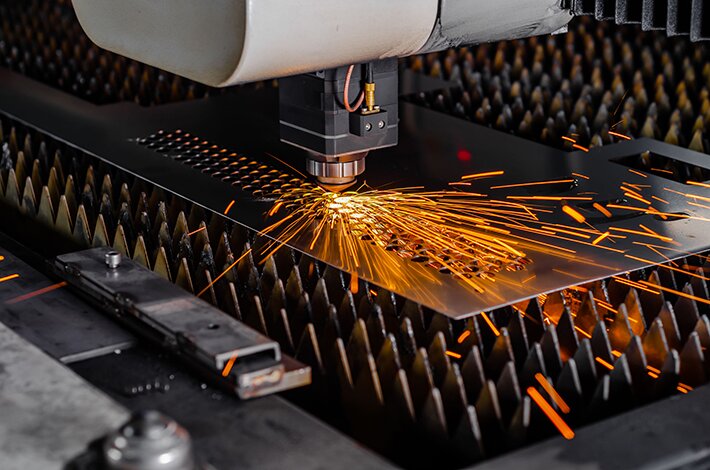
Key Processes Involved: Cutting, Welding, Stamping, and Assembly
- Cutting: Dividing metal sheets or blocks into smaller pieces using tools like lasers, plasma cutters, or shears.
- Welding: Welding joins metal pieces together by melting the edges and fusing them. This is crucial for creating strong, durable structures.
- Stamping: Stamping involves shaping or cutting metal into predefined shapes using dies and presses. This process is often used for mass production and ensures consistency in part sizes.
- Assembly: The final step involves bringing together the fabricated components and assembling them into a complete product.
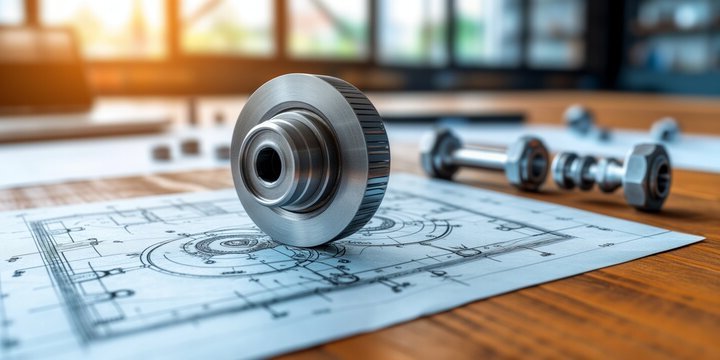
Prototyping Phase: Laying the Groundwork for Production
Prototyping is the foundation of any successful metal fabrication project. It’s where ideas take shape, and potential issues are identified before they become costly problems. Let’s explore why prototyping matters, how to choose the correct method, and what materials work best.
Importance of Prototyping in Metal Fabrication
Prototyping is more than just creating a model—it’s a critical step in ensuring your design works as intended.
Identifying Design Flaws Early
A prototype allows you to test your design in real-world conditions. You can spot issues like weak joints, poor fit, or inefficient geometries before moving to production. Fixing these problems early saves time and money.
Cost Savings and Process Efficiency
Prototyping helps you optimize your design for manufacturability. By refining the prototype, you can reduce material waste, simplify assembly, and streamline production processes, leading to lower costs and faster turnaround times.
Choosing the Right Prototyping Method
The prototyping method you choose depends on your project’s complexity, timeline, and budget.
Rapid Prototyping
Rapid prototyping uses 3D printing or CNC machining to create a physical model from a digital design quickly. It’s ideal for testing form, fit, and function.
- Advantages: Fast turnaround, cost-effective for small batches.
- Best for: Early-stage design validation.
CNC Machining vs. Additive Manufacturing
- CNC Machining: Uses subtractive methods to carve out a prototype from a solid block of metal. It’s precise and works well for functional prototypes.
- Additive Manufacturing (3D Printing): Builds the prototype layer by layer. It’s faster for complex geometries but may lack the strength of machined parts.
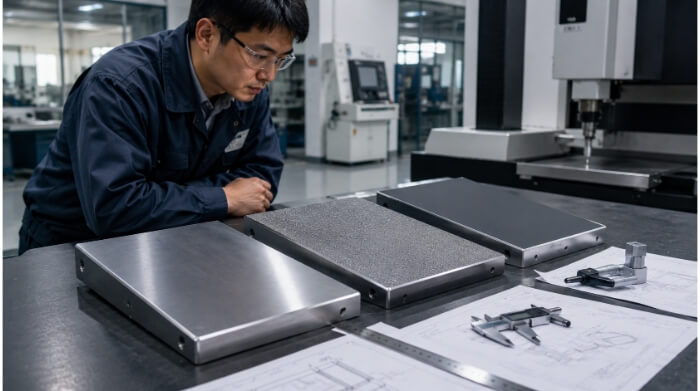
Materials Selection for Prototypes
The materials you choose for your prototype affect its performance, cost, and feasibility.
Common Materials Used
- Aluminum: Lightweight, corrosion-resistant, and easy to machine. Ideal for aerospace and automotive prototypes.
- Steel: Strong and durable, suitable for industrial applications.
- Stainless Steel: Offers excellent corrosion resistance, perfect for medical or food-grade prototypes.
- Brass and Copper: Used for electrical components or decorative parts.
Material Properties to Consider
- Functionality: Does the material meet the prototype’s performance requirements?
- Cost: Is the material cost-effective for testing purposes?
- Machinability: Can the material be easily shaped or modified?
Steps Involved in the Prototype to Production Process
Moving from prototype to production is a structured journey that requires careful planning and execution. Each step ensures your product is ready for the market. Let’s break down the process into actionable stages.
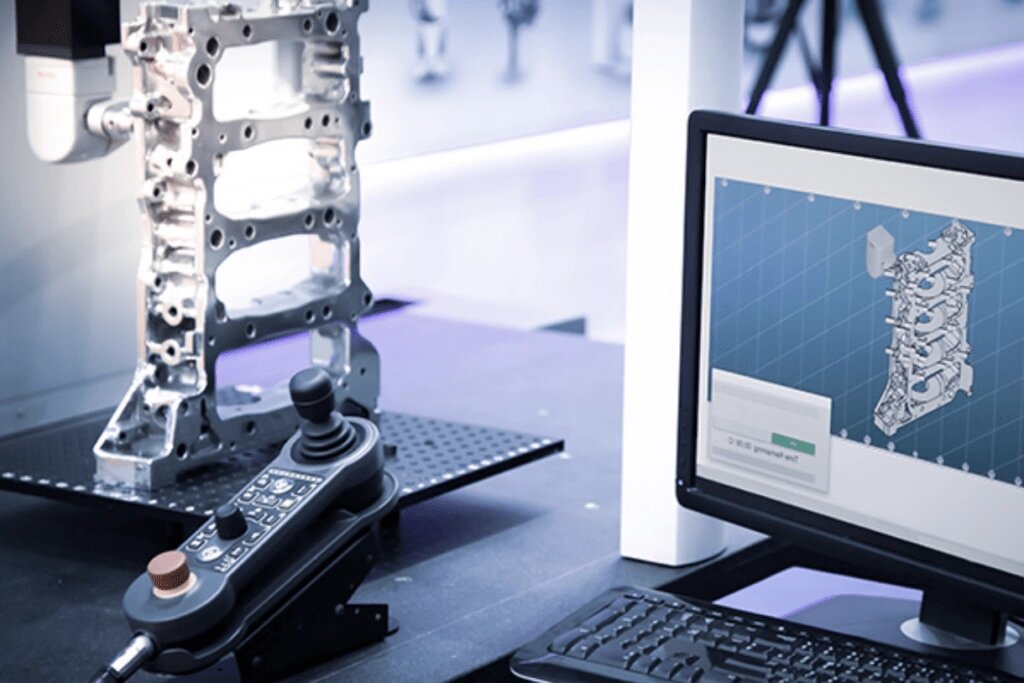
Step 1: Creating a Digital Prototype Model
A digital prototype is the blueprint for your physical product. It helps you visualize and refine your design before manufacturing begins.
Conceptual Prototyping
This stage focuses on turning ideas into a basic digital model. Use 3D CAD software to create a rough design that outlines the product’s shape and features.
- Purpose: Validate the core concept.
- Tools: Sketching, basic 3D modeling.
Feature Prototyping
Once the concept is approved, add detailed features to the model. This includes dimensions, tolerances, and functional elements.
- Purpose: Refine the design for functionality.
- Tools: Advanced CAD software simulation tools.
Evolutionary Prototyping
Based on feedback and testing, iterate on the design and make adjustments to improve performance, manufacturability, and user experience.
- Purpose: Optimize the design for production.
- Tools: CAD software, prototyping tools (CNC, 3D printing).
Estimated Timeline of Creating Prototypes
- Conceptual Prototyping: 1-2 weeks.
- Feature Prototyping: 2-4 weeks.
- Evolutionary Prototyping: 4-6 weeks.
Step 2: Market Research and Product Testing
Before committing to mass production, validate your product’s market viability and functionality.
Test Demand for the Product
Conduct surveys, focus groups, or crowdfunding campaigns to gauge interest. Ensure there’s a market for your product before scaling up.
Tooling, Sampling & Non-Production Release
Create tooling (molds, dies) for small-batch production. Test these samples to ensure they meet quality standards.
- Purpose: Validate manufacturability and quality.
- Output: Small batch of functional prototypes.
Ensure the Prototype is Good for Mass Production
Test the prototype under real-world conditions. Check for durability, performance, and ease of assembly. Make adjustments as needed.
Step 3: Migrating to Low-Volume Production
Low-volume production bridges the gap between prototyping and full-scale manufacturing.
Prepare Required Documents
- Technical drawings.
- Bill of Materials (BOM).
- Quality control plans.
Ideal Lead Time
For low-volume production, plan for 2-4 weeks. This allows time for tooling setup, material sourcing, and quality checks.
Total Manufacturing Budget
Factor in costs for materials, labor, tooling, and overhead. Ensure the budget aligns with your pricing strategy.
Give Products for Production
Hand over finalized designs and specifications to your manufacturer. Maintain clear communication to avoid misunderstandings.
Launch Product
Once production is complete, distribute the product to your target market. Monitor feedback and be ready to make improvements.
Transitioning from Prototype to Production
Scaling a prototype into mass production is a critical phase that requires careful planning and execution. It’s where your design meets real-world manufacturing constraints. Let’s explore the key factors to consider and the adjustments needed to ensure a smooth transition.
Scaling Prototypes into Mass Production
Moving from a prototype to mass production involves more than just increasing quantities. It requires evaluating production capabilities and making strategic decisions.
Key Factors to Consider When Moving to Production
- Manufacturability: Ensure your design can be produced efficiently at scale. Simplify complex geometries and standardize components.
- Material Availability: Confirm that materials are readily available in the quantities needed.
- Cost Efficiency: Optimize processes to reduce waste and lower per-unit costs.
- Quality Control: Implement rigorous testing and inspection protocols to maintain consistency.
Production Capabilities and Volume Considerations
- Low-Volume Production: Ideal for testing the market or producing niche products. Use flexible manufacturing methods like CNC machining.
- High-Volume Production: Requires dedicated tooling and automated processes. Consider injection molding or stamping for efficiency.
Adjustments and Refinements in Design
Even the best prototypes often need tweaks before they’re ready for mass production.
Standard Design Adjustments Before Production
- Tolerances: Tighten or loosen tolerances based on manufacturing capabilities.
- Material Thickness: Adjust thickness to improve durability or reduce weight.
- Assembly Processes: Simplify assembly by reducing the number of parts or using modular designs.
- Surface Finishes: Specify finishes that enhance functionality or aesthetics, such as powder coating or anodizing.
Why Iteration is Necessary for Product Success
Iteration ensures your product meets performance, quality, and cost targets.
- Performance: Testing reveals weaknesses that can be addressed before scaling up.
- Cost: Refining the design reduces material waste and production time.
- User Experience: Feedback from prototypes helps improve usability and functionality.
Conclusion
Transitioning from prototype to production is a crucial phase in bringing your product to life. By carefully planning the scaling process, making necessary design adjustments, and refining production methods, you can ensure that the final product is both high-quality and cost-effective.
When you’re ready to take your product from prototype to full production, make sure you have a trusted partner who understands the nuances of manufacturing at scale.
Ready to bring your design to life? Contact us today to discuss your project and how we can help you seamlessly transition from prototype to production!
Hey, I'm Kevin Lee

For the past 10 years, I’ve been immersed in various forms of sheet metal fabrication, sharing cool insights here from my experiences across diverse workshops.
Get in touch
Kevin Lee
I have over ten years of professional experience in sheet metal fabrication, specializing in laser cutting, bending, welding, and surface treatment techniques. As the Technical Director at Shengen, I am committed to solving complex manufacturing challenges and driving innovation and quality in each project.