Have you ever faced the challenge of painting anodized aluminum? If you have, you know it’s more complex than applying paint to other surfaces. Anodizing is a process that increases the thickness of the natural oxide layer on the surface of aluminum parts, making them more durable and corrosion-resistant.
Painting over anodized aluminum requires careful preparation to ensure the paint adheres and lasts. First, clean the surface thoroughly to remove any contaminants. Then, use a primer designed for metal, especially one suitable for anodized surfaces. This helps the paint stick better and extends the life of your paint job.
Stay with me to learn more about the best practices and techniques for effectively painting anodized aluminum.
Understanding Anodized Aluminum
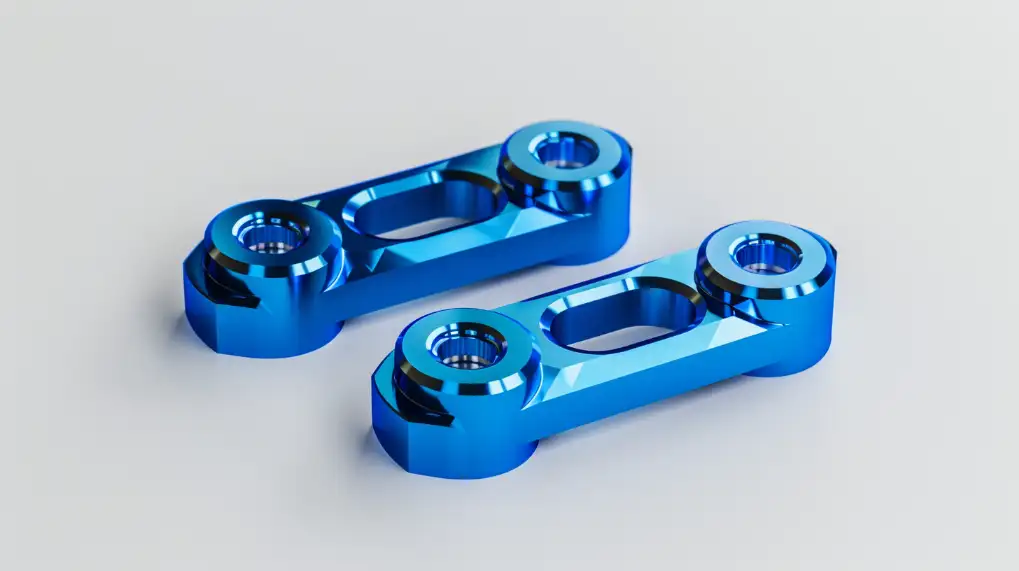
Anodized Aluminum is aluminum that’s been treated electrochemically to improve its surface properties. Anodizing aluminum involves submerging it in an electrolyte acid bath while passing an electric current. This creates a layer on the surface of aluminum oxide, which is essential to its structure.
Pre-Painting Prepared
Assessing the surface before you begin painting anodized aluminum is essential. This ensures that the paint will adhere correctly and the finish will be smooth and durable.
Assessment of the current condition of anodized aluminum
Check the anodized aluminum for damage, contaminants, or irregularities. Look for any signs of corrosion, scratches, or other imperfections that may affect the outcome. If the surface is glossy, it may be necessary to prepare it further.
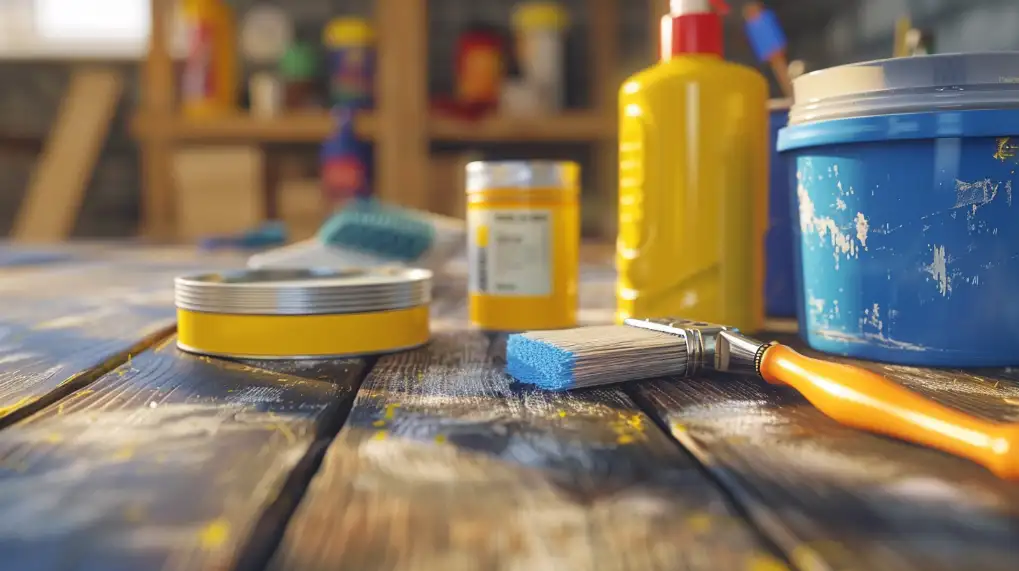
Tools and materials required for anodizing aluminum
You’ll need a few essential items to paint anodized aluminum:
- Use a high-quality solvent or degreaser to clean the surface.
- Use sandpaper or a scuffing tool to roughen the glossy surface to improve paint adhesion.
- Primer explicitly designed for metal surfaces.
- Paint compatible with anodized aluminum.
- Depending on the application method, you can use a paintbrush, a roller, or a sprayer.
Cleaning and Pretreatment
Cleaning and pretreatment ensure the paint adheres and lasts on anodized aluminum. Let’s look at how to prepare the surface effectively.
How to clean aluminum anodized before painting?
Clean the anodized aluminum thoroughly to remove all dirt, grease, or debris. Apply a degreaser or mild detergent mixed with warm tap water using a soft sponge or cloth. Avoid using materials that could scratch the surface. Rinse the aluminum thoroughly with clean water after cleaning. Then, dry it thoroughly.
Pretreatments of anodized aluminium with chemicals
You can use a chemical etching or pretreatment solution for metals to create a rougher surface to help the paint adhere better.
The importance of a surface free from contaminants
Oil, dust, or residues can cause primer and paint not to bond correctly. This will lead to poor adhesion, and the paint may peel or flake over time. Ensuring the surface is cleaned and treated correctly before painting is essential.
The Right Paint
Choosing the right paint for anodized aluminum is essential to achieve a durable, visually pleasing finish. We will explore the types of suitable paints and their advantages and disadvantages.
Anodized Aluminum Paint Types
Using paints that stick well to metal surfaces is crucial when painting anodized aluminum. These are the most popular types:
- Acrylic paint is known for its fast drying time and resistance to water.
- Epoxy paint provides a protective, tough coating resistant to chemicals and abrasion.
- Paints with polyurethane have a high shine and are highly durable against the weather.
Acrylics, polyurethanes, and epoxies: their advantages and disadvantages
Acrylics have a user-friendly interface and are quick to dry, making them perfect for projects that require a rapid turnaround. However, other options may not be as durable for outdoor applications.
Epoxies are ideal for environments that require high durability and chemical resistance. Their downsides are longer curing times and more complicated application processes.
Polyurethanes have excellent UV resistance and maintain their gloss for a long time. However, they can be expensive and require care to prevent runs and sags.
Color Selection Tips
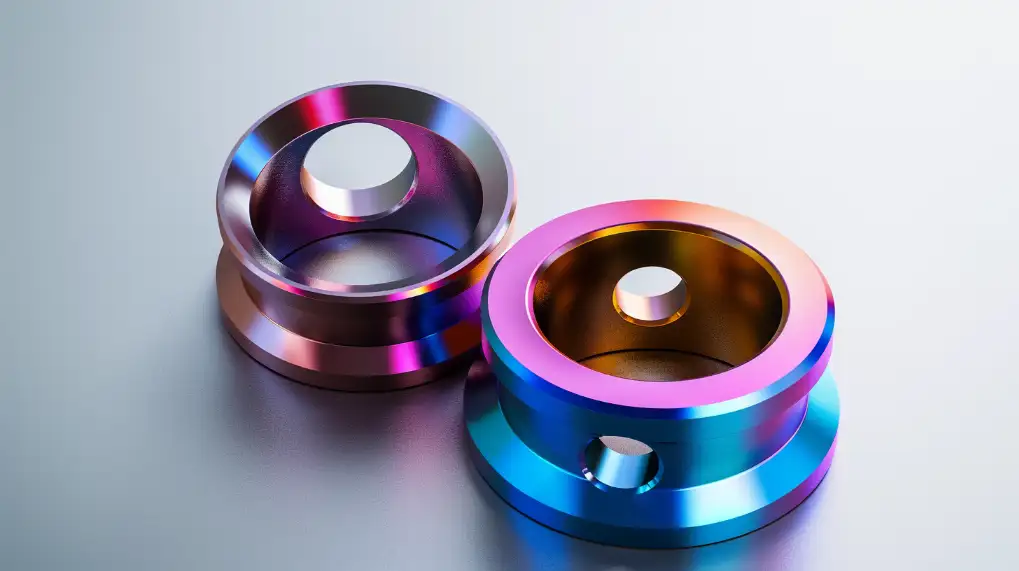
When choosing the color, consider the environment in which the aluminum paint will be used. For outdoor purposes, light colors reflect sunlight and reduce heat. You can match colors to your home’s decor or choose complementary colors.
Priming Anodized Aluminum
Priming is essential when painting anodized aluminum. We’ll discuss why primers are essential, how to select the right one, and the best techniques for application.
Need for a primer
The primer is a base coat that increases the paint’s adhesion to the surface. It also enhances the durability and longevity of the color coat. Primer prevents the paint from peeling off, cracking, or fading. The primer on anodized aluminum is non-porous and smooth, but it can make it difficult for paint to adhere to.
The suitable primer to use for anodized aluminum
Use a primer explicitly formulated for metal surfaces on anodized aluminum. Search for products that are compatible with non-ferrous or aluminum metals. These primers usually contain etching agents that make them adhere more effectively to metal surfaces.
Primer application techniques
Apply primer as follows:
- Make sure the surface is arid and clean.
- Apply primer with a roller, brush, or spray gun, depending on how precise you need to be and the size of your project.
- Avoid drips and uneven coverage by applying thin, even coats. Apply multiple thin coats rather than one heavy coat.
- Follow the manufacturer’s instructions and allow the primer to dry completely before applying the topcoat.
Painting Techniques
The method you use to paint anodized aluminum can significantly impact the outcome of your project. We’ll explore the differences between spray and brush painting and guide you to using spray paint for anodized aluminum.
Spray vs. brush painting: The pros and cons
Brush painting Pros:
- Control over specific areas.
- No need to purchase expensive equipment
- Easy setup and cleanup.
Brush painting Cons:
- Brush marks can be left.
- Spray painting is slower, and mainly when you are covering larger areas.
Spray Paint Pros:
- It provides a smooth and even finish without brush marks.
- Faster coverage for larger surfaces.
- A uniform and better adhesion.
Spray Paint Cons:
- It is necessary to prepare the surrounding area better to prevent overspray.
- Maintenance and equipment can be expensive.
- Even spraying techniques require some practice.
Detailed steps for spray painting anodized aluminum
- Surface preparation: Make sure the anodized aluminum is dry, clean, and primed, as described earlier.
- Setup of Equipment: Assemble and clean your spray gun. Select the correct nozzle for your paint type and desired finish.
- Practice: Before beginning your project, spray a scrap of material to adjust the flow rate and spray pattern settings.
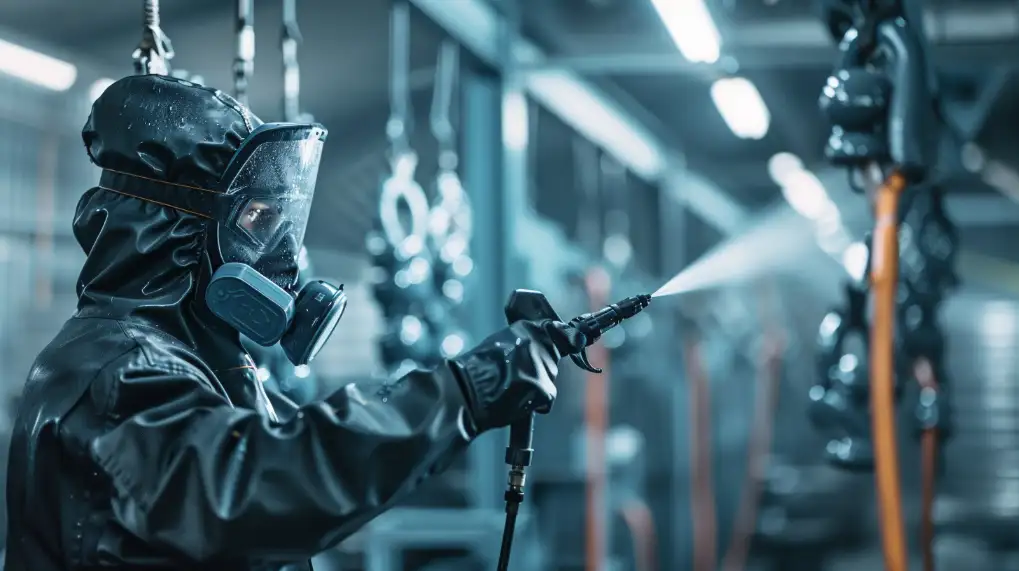
- Paint application: Start by spraying with a constant, even motion. The spray gun should be kept at a constant distance (usually 6-10 inches). Move it parallel to the surface. To ensure an even application, overlap each pass by approximately 50%.
- Applying Multiple Coats: Let the first coat dry according to the manufacturer’s instructions before applying the subsequent coats. If necessary, lightly sand the surface between coats to achieve a smooth finish.
How to ensure even coverage?
- Keep a steady pace and a steady grip while spraying.
- Avoid starting or stopping spraying directly on the surface to prevent paint drips.
- To ensure uniformity, use a consistent pattern (horizontal or vertical).
Drying and Curing
After painting anodized aluminum, the drying and curing process is crucial for a high-quality, durable finish. We’ll discuss the best conditions for each process, the timeframes expected for the different paints, and how environmental factors may influence the result.
The best conditions for drying aluminum
The best conditions to dry painted aluminum include a dust-free, clean environment with adequate ventilation. Temperature and relative humidity are important factors:
- Temperature: Try to maintain a constant temperature between 65-75degF (24-24degC). Too low temperatures can slow the drying process, while high temperatures can cause paint to dry faster, leading to cracks and unevenness.
- Humidity: An ideal relative humidity is 40-60%. High humidity can affect finish quality and extend drying time.
Curing times for different types of paint
Paint types can affect the time it takes for paints to cure.
- Acrylic paints: Acrylic Paints are usually dry to touch in 1-2 hours and fully cured within 24-48 hours.
- Epoxy paints: Epoxy paints can take up to seven days to cure and dry thoroughly.
- Polyurethane paints: Dry to the touch within 2-4 hours but cure entirely in 5-7 days.
As formulations can differ, it’s essential to check the manufacturer’s instructions for drying and curing time.
Environmental factors that affect drying and curing
Environmental factors can have a significant impact on the drying and curing process:
- Temperature: Paint cures and dries best at moderate temperatures. Extreme cold or heat can cause poor adhesion, premature aging, and other problems.
- Humidity: High humidities can affect the drying of paint and cause it to appear cloudy or blotchy.
- Ventilation: Adequate ventilation is essential to eliminate solvent vapors and speed up drying. Poor ventilation may lead to longer drying times and can affect the quality of your paint job.
After-Painting care
Taking care of anodized aluminum after painting is essential to maintaining its durability and aesthetics. Learn how to seal paint for added protection, maintain painted surfaces, and troubleshoot issues.
Sealing the paint to provide extra protection
Consider applying a clear sealant to your painted aluminum to increase its durability and resistance. This is particularly useful when the environment is harsh. Clear polyurethane and acrylic sealants can offer extra protection from UV rays, moisture, and abrasion. Follow the manufacturer’s instructions and apply the sealant after the paint is fully cured.
Tips for maintaining painted anodized aluminum
To ensure the longevity of painted anodized aluminum, it is essential to maintain regular care.
- Regular Cleansing: Use a soft, mild detergent to clean the surface. Avoid scratching it. Rinse the surface with clean water, then dry it with a soft cloth.
- Avoid Harsh chemicals: Do not use aggressive cleaners or chemicals that can damage paints and sealants.
- Check Regularly: Look for signs of wear and damage, such as fading or chipping. These could need to be touched up to prevent further degradation.
Common problems with painted surfaces
Here are some suggestions to help you if your painted surfaces have problems.
- Peeling Paint or Flaking: This is often caused by inadequate surface preparation or moisture intrusion. The affected area should be lightly sanded, primed, and repainted.
- Fading Colour: Exposure to UV light can cause paints to fade. Consider repainting the area with a UV-resistant color and sealing it using a UV-resistant sealant if fading occurs.
- Scratches: Small scratches are easily repaired with matching paint. If the scratch is more profound, lightly sand it, then apply primer to any exposed metal. Then repaint.
Special Considerations
There are some special considerations when painting anodized aluminum to achieve the best results.
Paint anodized aluminum for outdoor use.
Durability is critical for outdoor use. Here are some essential tips:
- Use High-Quality Paints: Choose paints specifically designed for outdoor use. These include acrylic or polyurethane exterior-grade paints. They offer improved UV resistance and weatherproofing.
- Sealants: Use a UV-resistant sealant after painting to protect paint from weather damage and fading.
- Proper preparation: Make sure to clean and prime the surface thoroughly. This will improve adhesion.
How to deal with surfaces that are highly damaged or weathered
Anodized aluminum that is damaged or old requires special care.
- Surface preparation: Remove all loose or flaking paint. Smooth out rough spots and remove oxidation with a wire brush or sandpaper.
- Primer: Use a high-adhesion primer to ensure the new paint adheres to the damaged surface.
- Filler: Use a metal filler for deep scratches and dents before priming.
Creative techniques for decorative effects
Consider the following techniques when adding decorative flair to anodized aluminum:
- Stenciling: Use stencils for intricate designs. Adding logos, patterns, or detailed graphics is a great way.
- Two Tone Effects: Apply the base and top colors first. Then, lightly sand down the top color to reveal the base color.
- Metallic finishes: Use paints with metallic finishes to create the appearance of metals such as bronze or copper. This can give decorative items a more sophisticated look.
Conclusion
To successfully paint anodized aluminum, follow a set of steps. These include preparing the surface, selecting the best type of paint, using the best application techniques, and ensuring the paint is properly dried and cured. Outdoor use and highly weathered surfaces require special considerations. Creative techniques can improve the decorative outcome.
Do you need a reliable sheet metal parts manufacturer? Shengen is the place to go. We specialize in sheet metal laser cutting, bending, surface finish, and CNC Machining. Reach out to Shengen Today and seek help from professionals!
FAQs:
How can you paint anodized aluminum without priming it?
Painting over anodized aluminum without priming is not recommended. This step is essential because skipping it can result in poor paint adhesion, which will cause flaking or peeling over time.
How long will paint anodized aluminum last?
The quality of the paint used, the application process, and the environment in which it is exposed will determine the durability of painted aluminum anodized. Painted anodized aluminum can last up to 10 years with proper maintenance and preparation.
What are the symptoms of a bad paint job on anodized aluminum?
Poor paint jobs can be identified by bubbling, flaking, or peeling paint, uneven coverage, visible strokes, or premature fading. These problems are usually caused by inadequate surface preparation, using the wrong paint or primer, or incorrect application techniques.
What is cheaper, to repaint anodized aluminum or replace it?
Repainting anodized aluminum fixtures is generally cheaper than replacing them, especially if they are structurally sound. Repainting is less expensive and wasteful than replacing.
More Resources:
Choosing the Right Metal Primer – Source: Palatinepaints
Tips for Spray Painting Techniques – Source: Makezine
Maintaining Painted Metal Surfaces – Source: Everbrite Coatings
Differences Between Epoxy and Polyurethane Paints – Source: Copps
Hey, I'm Kevin Lee

For the past 10 years, I’ve been immersed in various forms of sheet metal fabrication, sharing cool insights here from my experiences across diverse workshops.
Get in touch

Kevin Lee
I have over ten years of professional experience in sheet metal fabrication, specializing in laser cutting, bending, welding, and surface treatment techniques. As the Technical Director at Shengen, I am committed to solving complex manufacturing challenges and driving innovation and quality in each project.

