Working with acrylic can be frustrating. Manual cutting often leads to rough edges, cracks, and wasted materials. These issues slow down production and impact the final quality of your products. Laser cutting offers a precise, efficient solution that eliminates these common problems while opening new design possibilities.
Laser cutting revolutionizes acrylic fabrication through concentrated beams of light that melt and vaporize material with microscopic precision. This technology achieves clean edges, complex patterns, and detailed cuts impossible with traditional methods. Modern laser systems can handle various acrylic thicknesses and types while maintaining exceptional accuracy.
If you’ve been considering laser cutting for your acrylic projects, you’ll want to know how this technology can benefit your specific applications. Let’s explore the technical aspects, practical benefits, and real-world uses of laser-cut acrylic.
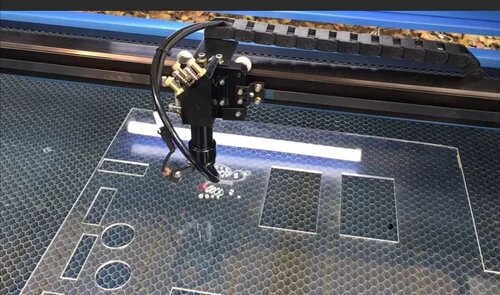
Understanding Laser Cutting Acrylic
Acrylic is a versatile material that’s become a staple in many industries. Let’s explore its types and the properties that make it ideal for laser cutting.
What is Acrylic?
Acrylic, or polymethyl methacrylate (PMMA), is a synthetic polymer. It’s often used as a lightweight, shatter-resistant alternative to glass.
Acrylic boasts excellent optical clarity. It transmits up to 92% of visible light, making it more transparent than glass.
It’s known for its durability. Acrylic is about half the weight of glass but much more impact-resistant.
Types of Acrylic Sheets
Cast acrylic is made by pouring liquid acrylic into molds. This process produces a higher-quality sheet with better optical clarity and chemical resistance.
Extruded acrylic is made by forcing molten acrylic through a die. It’s less expensive to produce but may have slight imperfections.
Colors and finishes vary widely. Acrylic is available in transparent, translucent, and opaque options, as well as mirrored and frosted finishes.
Specialty acrylics exist for specific applications. These include UV-resistant types for outdoor use and abrasion-resistant varieties for high-wear situations.
Properties of Acrylic Relevant to Laser Cutting
The melting point is crucial for laser cutting. Acrylic melts around 160°C (320°F), allowing clean cuts with minimal heat-affected zones.
Acrylic has low thermal conductivity. This means heat doesn’t spread far from the cut line, enabling precise, detailed work.
Optical clarity matters for many projects. Laser cutting doesn’t affect the transparency of clear acrylic, maintaining its visual appeal.
Edge finish is a crucial consideration. Laser cutting typically produces a polished, smooth edge on acrylic without additional finishing.
Thickness tolerance affects cutting parameters. Most acrylic sheets have tight thickness tolerances, allowing consistent laser cutting results.
The Science Behind Laser Cutting Acrylic
How Laser Cutting Works
The process starts with a focused beam of light, concentrated to temperatures exceeding 1,500°F. This intense heat doesn’t burn acrylic – it vaporizes it. The beam moves with computer-guided precision, following your design path point by point, creating cuts as thin as 0.1mm.
Types of Lasers Used for Cutting Acrylic
CO2 Lasers
CO2 lasers rule the acrylic cutting world. Their 10.6-micron wavelength matches perfectly with acrylic’s absorption properties. These machines cut cleanly through materials up to 1 inch thick. The focused beam leaves polished, smooth edges that need minimal finishing.
Fiber Lasers
Fiber lasers play a different role. While excellent for metals, they often struggle with acrylics. Their shorter wavelength can cause excessive melting and rough edges. Most professionals stick with CO2 systems for acrylic work.
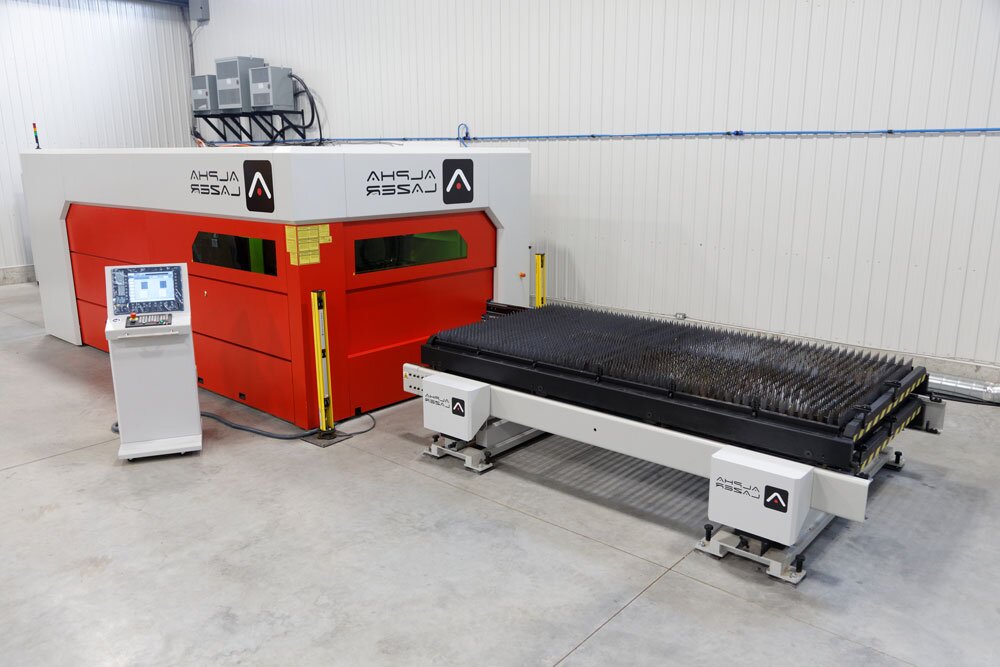
Advantages of Laser Cutting Acrylic
Laser-cutting technology offers a range of benefits that traditional methods simply can’t match. Let’s explore the key benefits of laser cutting in acrylic fabrication.
Precision and Accuracy
- Laser cutting achieves tolerances as tight as 0.1mm
- Reproduces designs precisely as intended
- Ideal for intricate patterns and complex shapes
- Outperforms traditional cutting methods in precision
Clean Edges and Minimal Waste
- Focused laser beam melts and vaporizes material cleanly
- Results in smooth, polished edges
- Often eliminates the need for further finishing
- Reduces post-processing time and labor costs
- Minimizes material waste due to precise cutting
Versatility in Design
- The computer-controlled process allows for a wide range of designs
- Easily handles simple geometric shapes to complex patterns
- Facilitates quick design customization and adjustments
- No need for new tooling or dies for design changes
- Particularly beneficial for prototyping and small production runs
Cost-Effectiveness
- High efficiency in the cutting process
- Minimal setup time required
- Reduces material waste significantly
- Often eliminates additional finishing steps
- Provides substantial cost savings for intricate designs
- Economical for projects requiring multiple iterations
Applications of Laser Cut Acrylic
Laser-cut acrylic’s versatility opens up various possibilities across various industries and creative fields. Let’s explore some of the most popular and innovative uses of laser-cut acrylic:
Signage and Displays
- Retail store signs and logos
- Business nameplates and office signs
- Trade show displays and banners
- Menu boards for restaurants
- Informational signage for public spaces
- Illuminated signs with LED display
Architectural Elements
- Decorative room dividers and partitions
- Custom light fixtures and lampshades
- Unique window treatments
- Modern furniture components
- Backsplashes for kitchens and bathrooms
- Sleek staircase balustrades
Custom Gifts and Awards
- Personalized photo frames
- Engraved trophies and plaques
- Corporate recognition awards
- Wedding and event centerpieces
- Custom keychains and ornaments
- Unique jewelry pieces
Industrial Uses
- Control panels for machinery
- Protective guards for equipment
- Durable industrial signage
- Custom instrument panels
- Prototype components for product development
- Specialized packaging inserts
Art and Decorative Items
- Wall art and sculptures
- 3D layered art pieces
- Custom clocks and mirrors
- Intricate stencils for artists
- Decorative coasters and placemats
- Unique acrylic terrariums
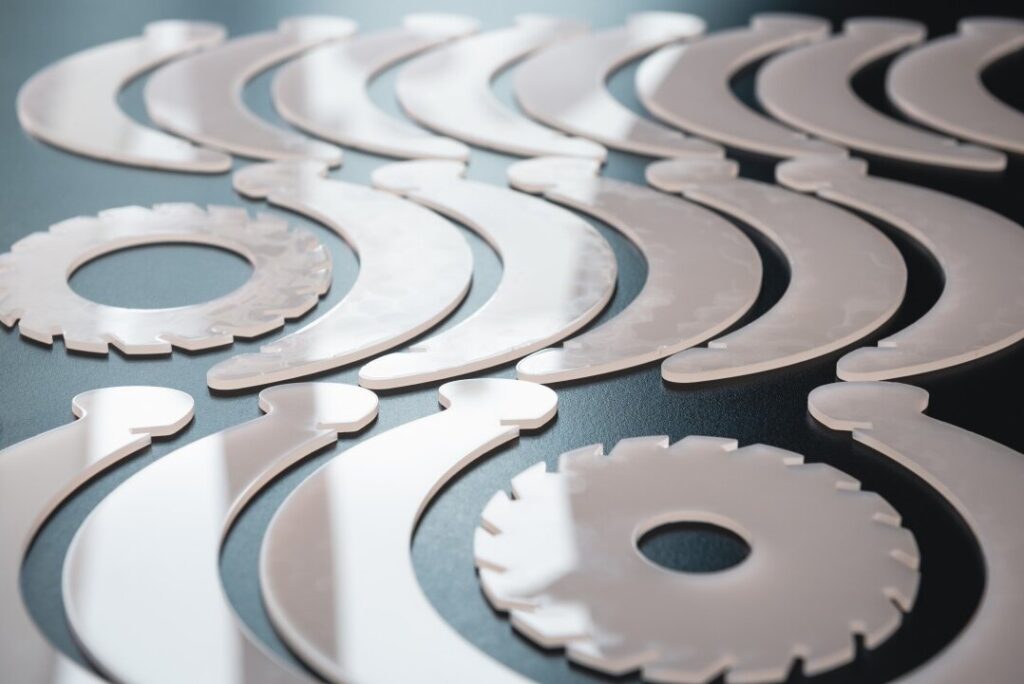
Choosing the Right Equipment
Selecting the proper laser-cutting equipment is crucial for achieving optimal results with acrylic. Let’s explore the key factors to consider, top machines for the job, and essential maintenance tips.
Factors to Consider When Selecting a Laser Cutter
Power output is a critical aspect when choosing a laser cutter for acrylic. Higher-wattage machines cut faster and handle thicker materials. For most acrylic projects, a 40-80 watt CO2 laser suffices.
Bed size matters, too. Consider the dimensions of your typical projects. A larger bed allows for more significant pieces or multiple cuts in one session.
Speed and precision go hand in hand. Look for machines with high-quality stepper motors and robust motion control systems. These features ensure clean, accurate cuts even on intricate designs.
Software compatibility is often overlooked but shouldn’t be. User-friendly software streamlines your workflow. Check if the machine works with popular design programs like CorelDRAW or Adobe Illustrator.
Top Laser Cutting Machines for Acrylic
The Epilog Zing 24 stands out for its reliability and ease of use. It’s perfect for small—to medium-sized projects and offers excellent engraving capabilities.
For larger-scale operations, the Trotec Speedy 400 is hard to beat. Its high-speed processing and large bed size make it ideal for commercial acrylic cutting.
The Universal VLS6.60 offers an outstanding balance of features and price. It handles various materials beyond acrylic, making it versatile for diverse projects.
Maintenance Tips for Laser Cutting Machines
Regular cleaning is vital to maintaining your laser cutter. Wipe down the lens and mirrors daily to prevent buildup affecting cutting quality.
Alignment checks should be performed weekly. An adequately aligned laser ensures consistent cutting across your entire work area.
Replace air filters monthly or as needed. Clean filters protect both your machine and workspace from harmful fumes and debris.
Lubricate moving parts according to the manufacturer’s schedule. This simple step prevents wear and tear, extending your machine’s lifespan.
Keep your laser tube cool. Overheating can cause many issues. Ensure your cooling system is functioning correctly, and replace coolant as recommended.
The Laser Cutting Acrylic Process: Step-by-Step
Mastering the laser cutting process is vital to achieving professional results with acrylic. Let’s walk through each stage, from setup to finishing touches.
Setting Up the Laser Cutter
First, power on your machine and allow it to warm up. This ensures stable performance throughout your cutting session.
Check the laser alignment. Use the test fire function to verify the laser hits the center of the cutting area.
Clean the lens and mirrors. Even small debris can affect cut quality, so a quick wipe-down is crucial.
Ensure proper ventilation. Acrylic cutting produces fumes, so confirm your exhaust system is functioning correctly.
Loading and Positioning the Acrylic
Remove the protective film from your acrylic sheet. This step prevents the melting of the film during cutting.
Place the acrylic on the cutting bed. For most projects, position it in the upper-left corner for easy reference.
Use the machine’s focus tool to set the correct focal length. Proper focus ensures clean, precise cuts.
Secure the acrylic with weights or tape if needed. This prevents shifting during the cutting process.
Adjusting Settings for Optimal Results
Set your laser power based on the acrylic thickness. Start with the manufacturer’s recommendations and adjust as needed.
Determine the appropriate cutting speed. Slower speeds yield cleaner cuts but take longer.
Adjust the number of passes if necessary. Thicker acrylic may require multiple passes for a complete cut.
Fine-tune your air assist settings. Proper airflow helps prevent burning and improves edge quality.
Post-Cutting Finishing Techniques
Remove your cut pieces carefully. Acrylic can be brittle, so handle it with care to avoid breakage.
Peel off any remaining protective film. This reveals the complete clarity and shine of your acrylic pieces.
Sand edges if needed. Use fine-grit sandpaper to smooth any rough spots left by the laser.
Polish cut edges for a crystal-clear finish. A quick flame polish or acrylic polish compound works wonders.
Clean your finished pieces. A microfiber cloth and specialized acrylic cleaner remove any residue or fingerprints.
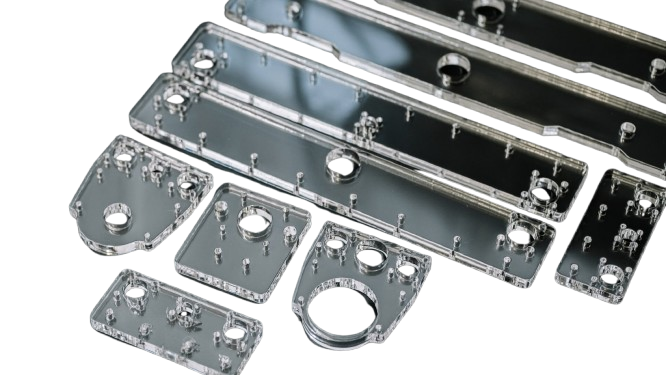
Laser Cutting Acrylic:Troubleshooting Common Issues
Even with careful preparation, issues can arise during laser cutting. Let’s address some frequent problems and their solutions to keep your acrylic projects on track.
Incomplete Cuts
Incomplete cuts are frustrating but often easy to fix. First, check your power settings. The laser won’t cut through entirely if they’re too low for the acrylic thickness.
Speed is another culprit. Cutting too fast can result in partial cuts. Try slowing down your cutting speed for more thorough results.
Focus issues can cause incomplete cuts. Ensure your laser is properly focused on the acrylic surface. Even slight misalignments can affect cut depth.
Multiple passes might be necessary for thicker acrylic. If single passes aren’t cutting it, program your machine for two or more passes.
Clean your lenses and mirrors. Debris can reduce laser power, leading to incomplete cuts. Regular cleaning often solves this issue.
Melting and Fumes
Excessive melting often results from too much heat. To minimize heat buildup, reduce your laser power or increase cutting speed.
Ventilation plays a key role. Check that your exhaust system is functioning at total capacity. Poor ventilation can lead to fume buildup and affect cut quality.
Cooling breaks between cuts can help. For large projects, pause occasionally to let the acrylic cool down.
Misalignment Problems
Start by checking your file. Ensure all elements are aligned correctly in your design software before sending them to the laser cutter.
Secure your material correctly. Loose acrylic can shift during cutting, causing misalignment. Use weights or tape to keep it in place.
Verify machine calibration. Regular use can throw off alignment. Follow your machine’s calibration procedure to ensure accuracy.
Check for loose belts or gears. Mechanical issues can cause misalignment. Inspect and tighten components as needed.
Consider environmental factors. Vibrations from nearby equipment can affect precision. Isolate your laser cutter if possible.
Conclusion
Technology advances rapidly, but laser cutting acrylic remains a reliable choice for quality manufacturing. The combination of precision, speed, and design flexibility makes it ideal for modern production needs. Your projects benefit from clean cuts, quick turnaround, and professional results.
Start with small test pieces to learn the process. Take time to dial in your settings and understand material behavior. Success in acrylic laser cutting comes from hands-on experience and attention to detail.
Do you need a reliable sheet metal parts manufacturer? Shengen is the place to go. We specialize in sheet metal laser cutting, bending, surface finish, and CNC Machining. Reach out to Shengen Today and seek help from professionals!
FAQs
What is the difference between acrylic and plexiglass?
Acrylic and plexiglass refer to the same material – PMMA plastic. They’re different brand names for an identical product. Both cut equally well with lasers.
Can you laser-cut colored acrylic?
Colored acrylic works excellently with laser cutting. The pigments don’t affect the cutting process. Dark colors might need slightly different power settings than transparent sheets.
How thick of acrylic can a laser cutter cut?
Most CO2 lasers handle acrylic up to 1/2 inch thick in a single pass. Thicker materials need multiple passes. Always check your machine’s specifications first.
What are the costs associated with laser cutting acrylic?
Price varies by project size and complexity. Expect $1-5 per minute of cutting time, plus material costs. Bulk orders significantly reduce per-piece costs.
Hey, I'm Kevin Lee

For the past 10 years, I’ve been immersed in various forms of sheet metal fabrication, sharing cool insights here from my experiences across diverse workshops.
Get in touch

Kevin Lee
I have over ten years of professional experience in sheet metal fabrication, specializing in laser cutting, bending, welding, and surface treatment techniques. As the Technical Director at Shengen, I am committed to solving complex manufacturing challenges and driving innovation and quality in each project.

